Building an Off-Road Camper - Photographs
The restoration is almost complete and The Landy Rover moves, stops, steers and doesn't catch fire, so it is time to move on and start building the interior to turn her into an Offroad camper van, ready to tackle the world. I would love to post architectural diagrams and plans of the build, however to be honest, it has been a make it up as I go along and designs and measurements were tweaked along the way.
Building a Series 2 Land Rover Camper
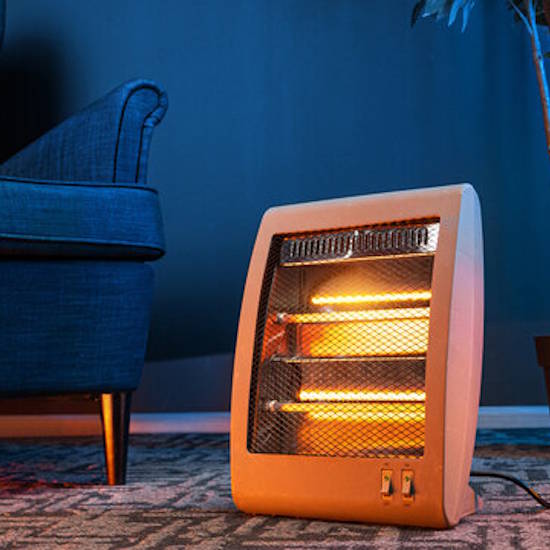
The Land Rover is an ex-Vietnam War Australian Army Land Rover, so it didn't have many comforts (or a roof), so heating wasn't really thought of. The original Landy's did have the option of a Smiths Heater, which was a simple device that routes hot water from the radiator into the device in the cabin that had a fan attached to it. I got a similar device from AliExpress for $75!
More Info
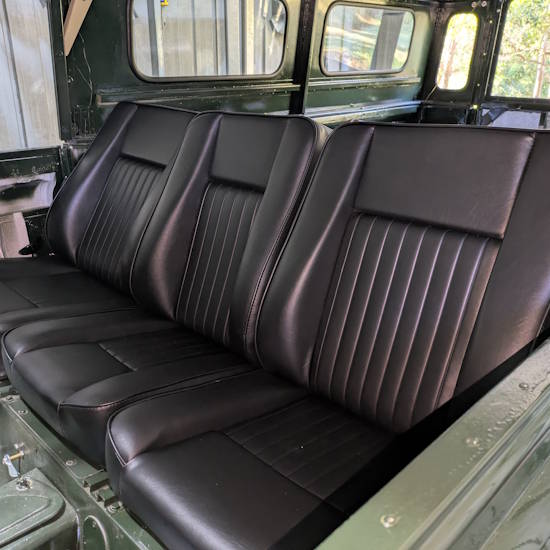
The Land Rover still had the original Army seating and seat covers installed, complete with a couple of cigarette burns, which was a great mark of their history. Sadly, these seats were not designed for comfort in mind and were extremely uncomfortable, plus the foam had degraded quite badly too. As a replacement, I installed BritPart Deluxe seats to make life a bit more comfortable.
More Info
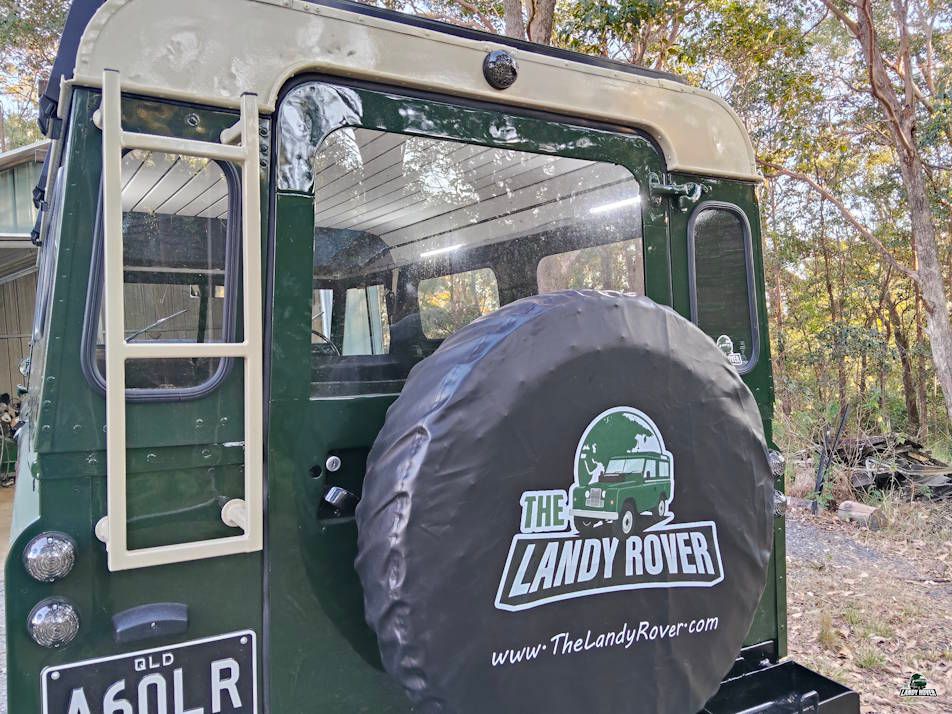
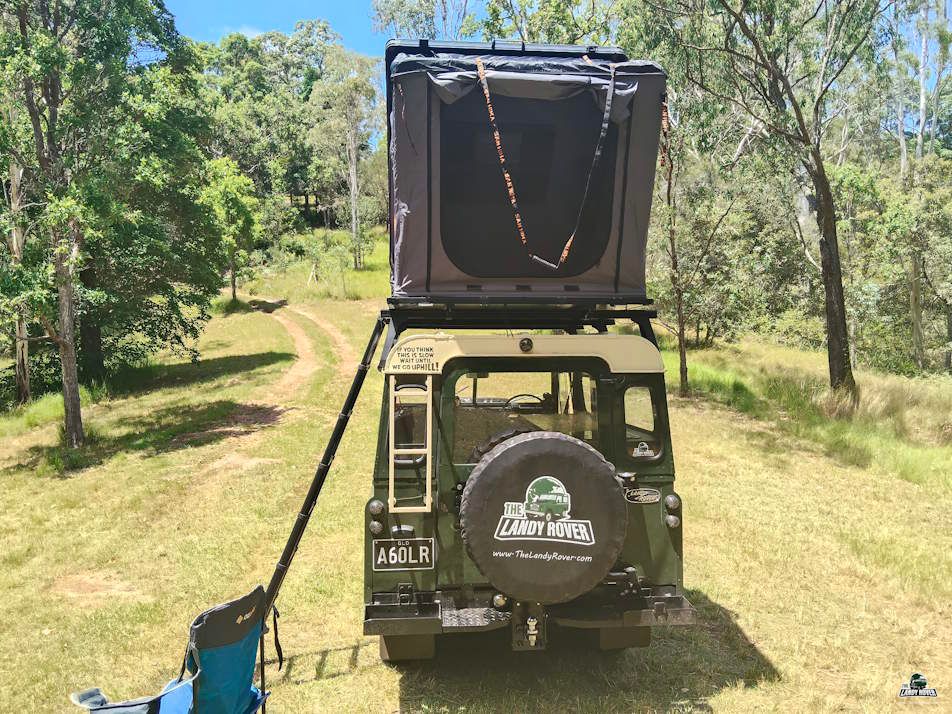
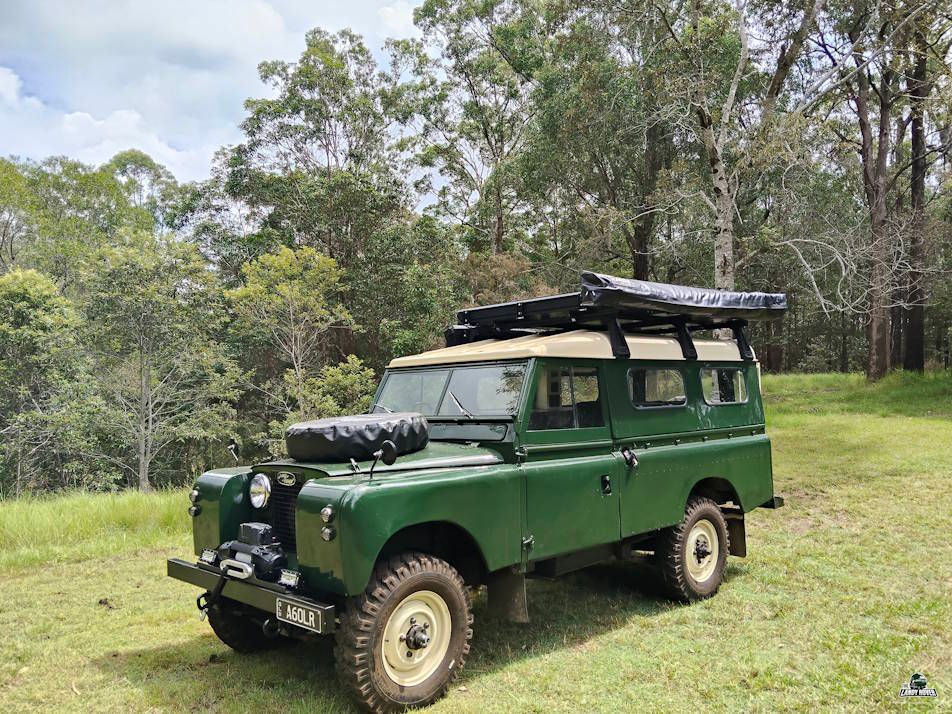
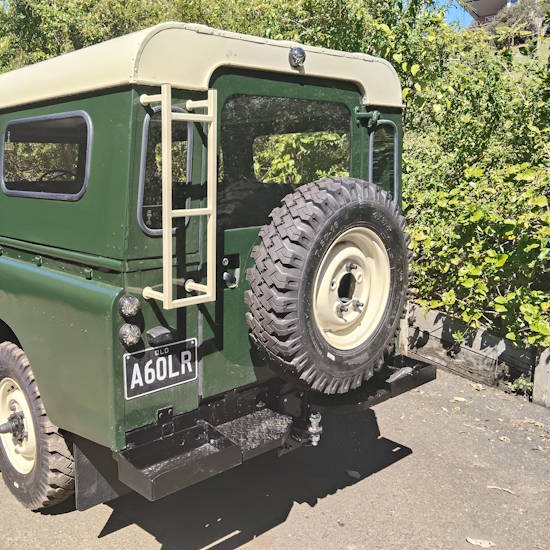
Series Land Rovers have a lovely rugged looking feature of the spare wheel up front and on the bonnet, which I am keeping. There was also an option for the spare wheel to be in the back, which would take up valuable camper space, so I decided to put the second spare wheel on a swing out arm on the back, so the weight wasn't on the rear door. Our wheels weigh 45kg each.
More Info
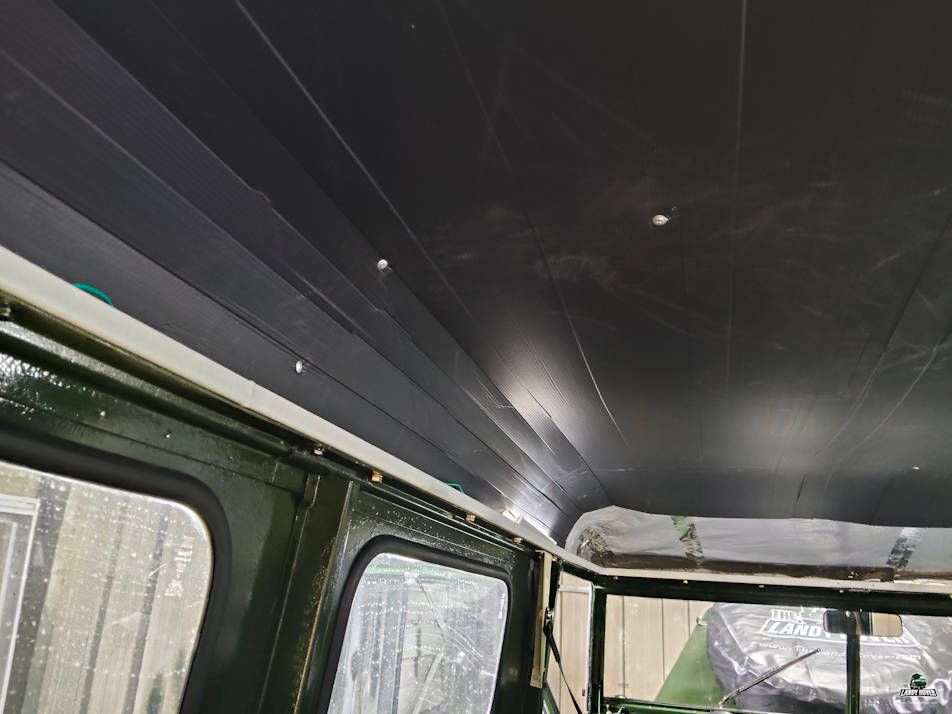
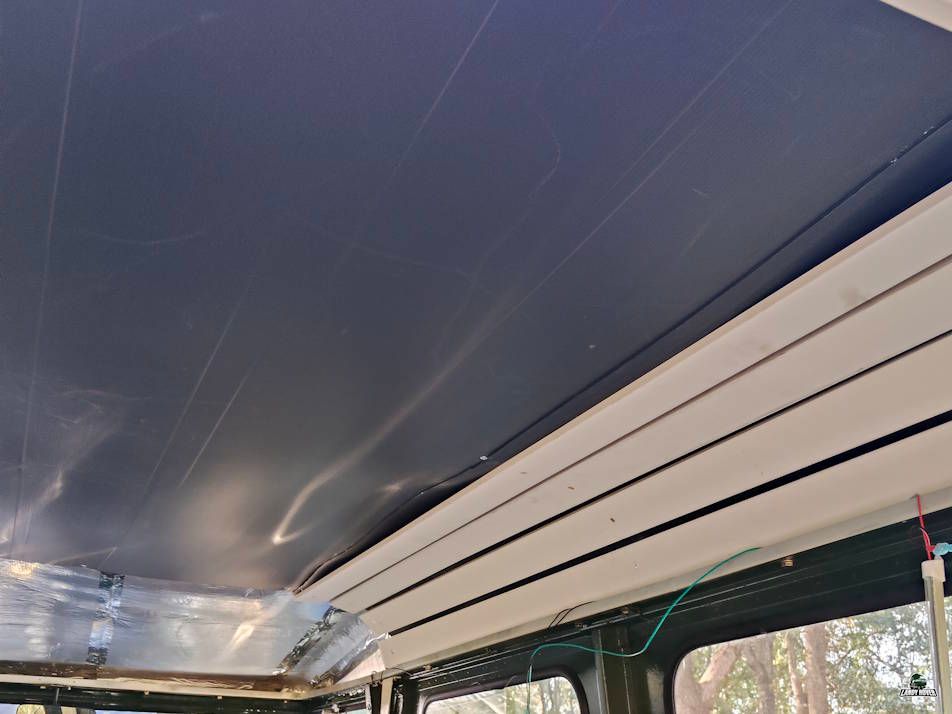
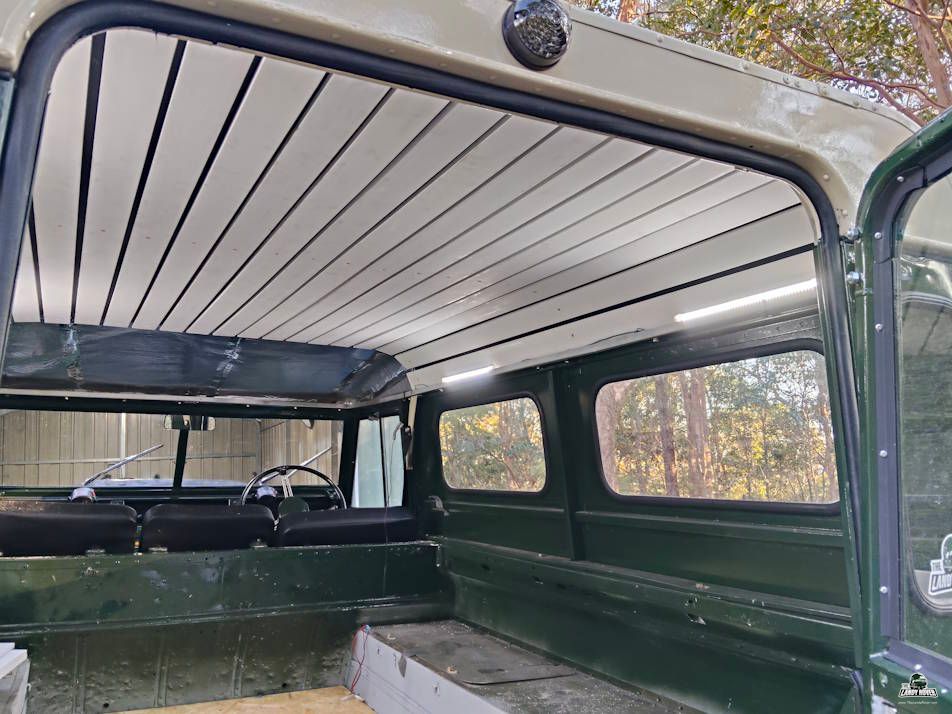
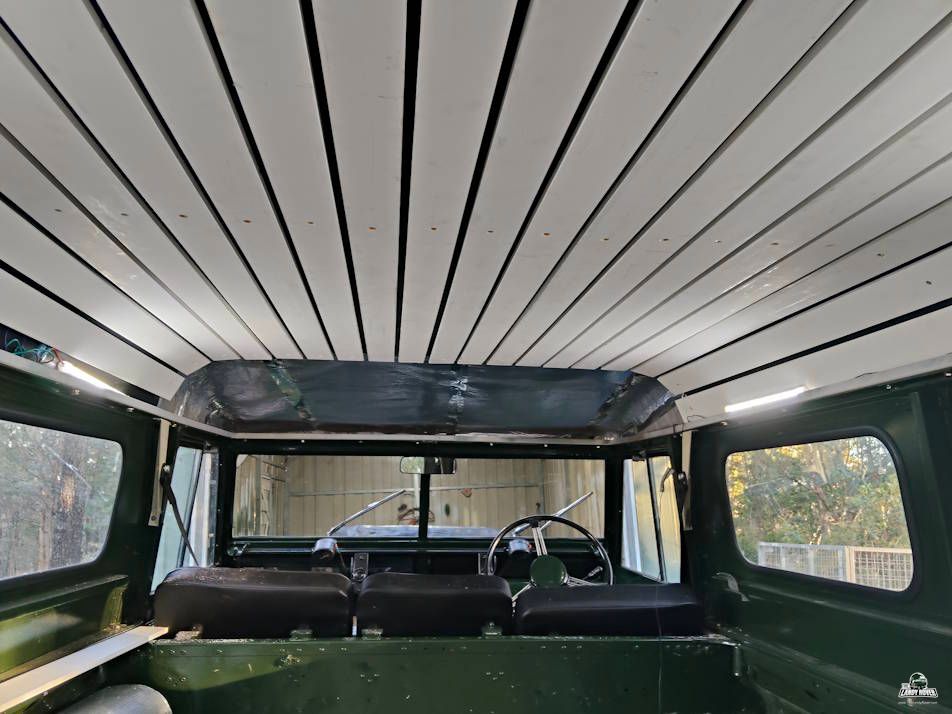
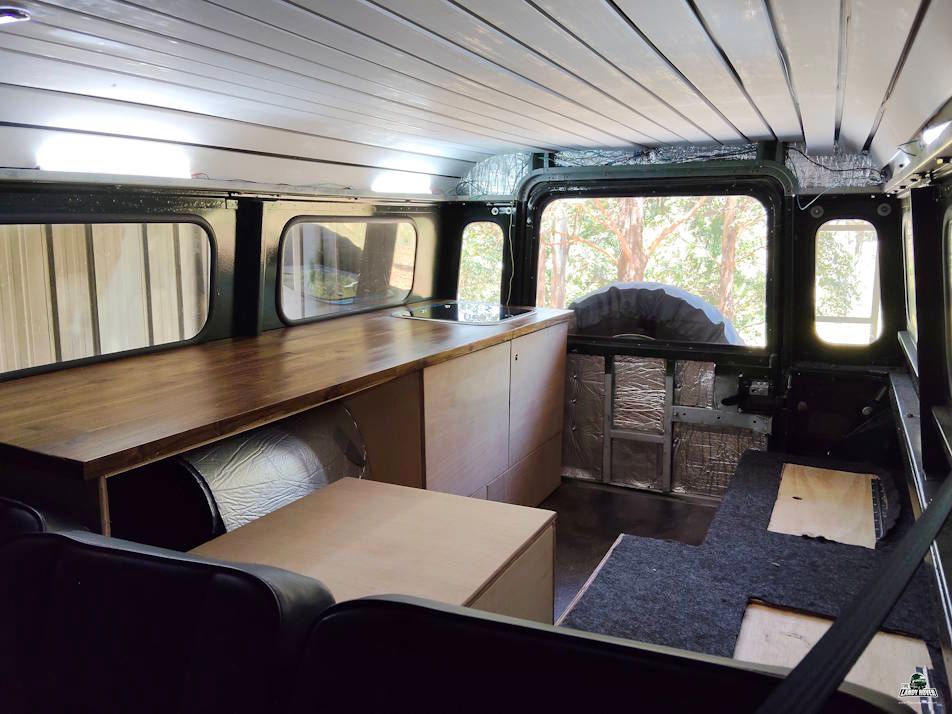
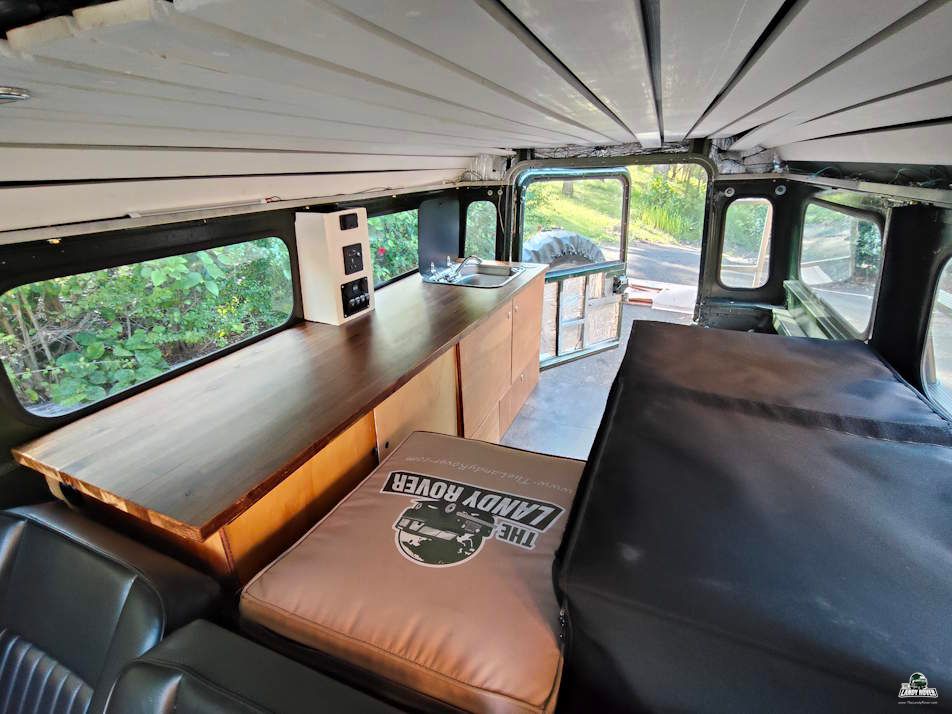
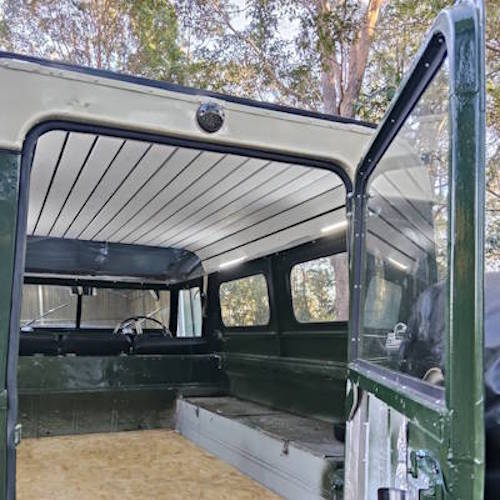
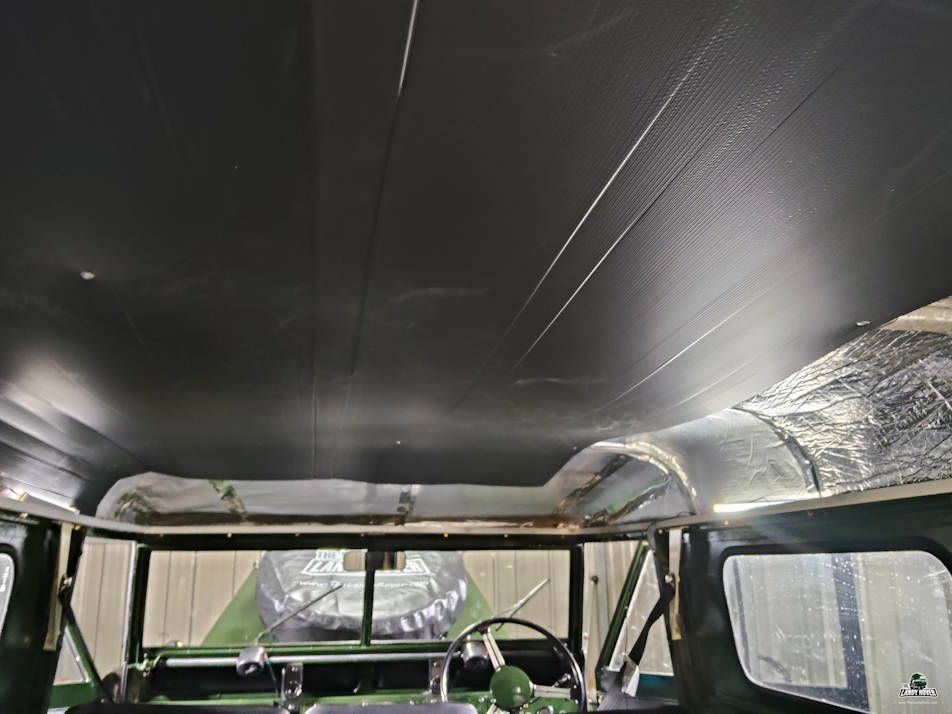
Although the ultimate goal is to have a roof top tent on top of the Landy Rover, which will help reduce roof heat, I still need some insulation on the aluminium roof, so the vehicle doesn't turn into a Sauna. This is how I installed foam insulation, black plastic and white wooden slats, and painted a gloss white to try and brighten up the back of the Landy Rover.
More Info
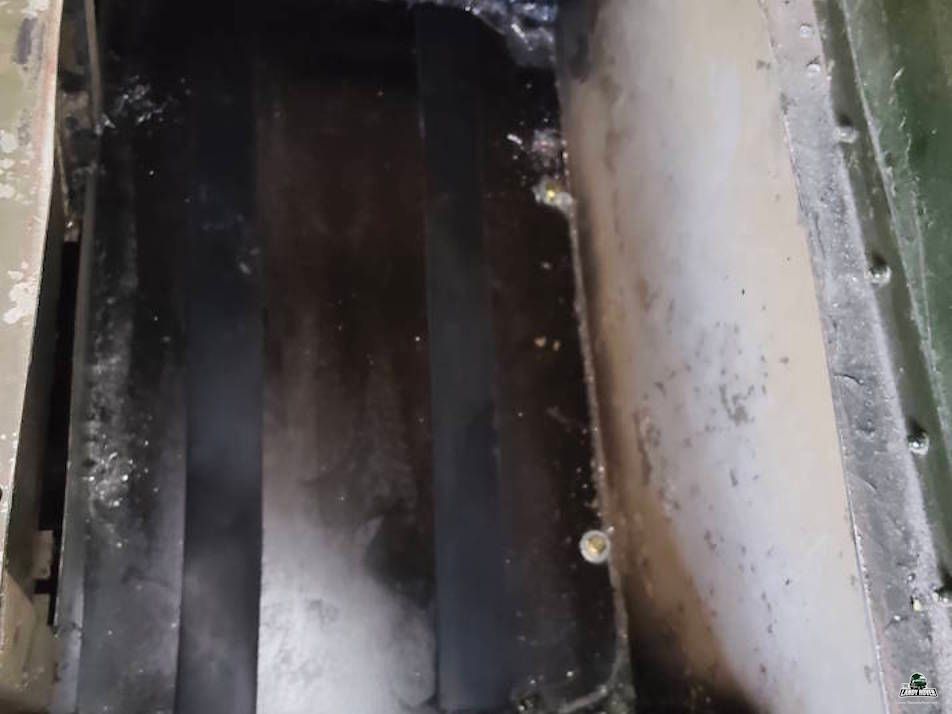
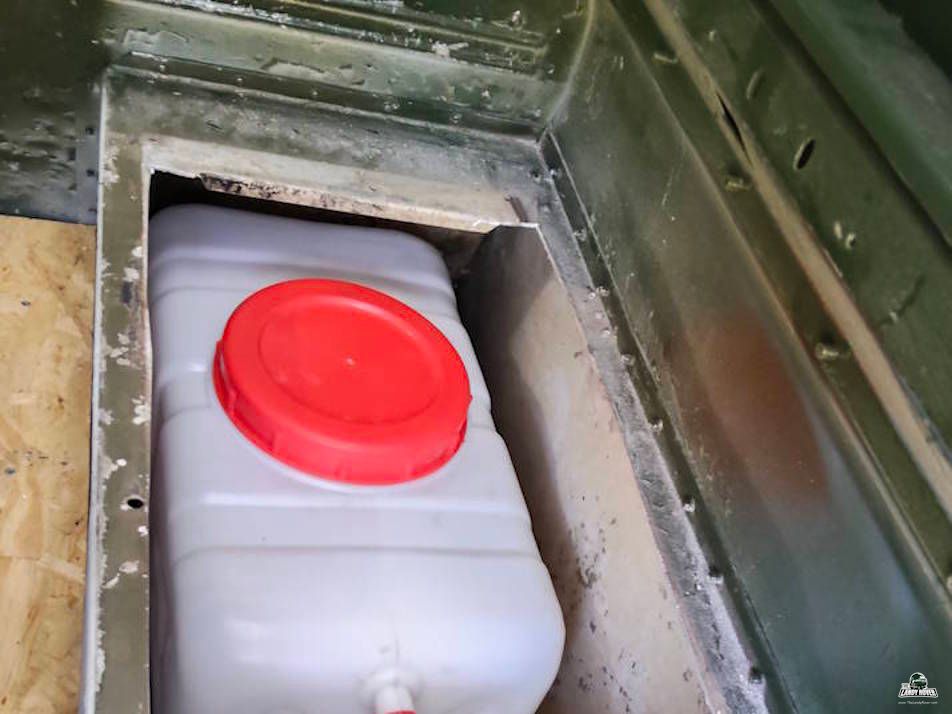
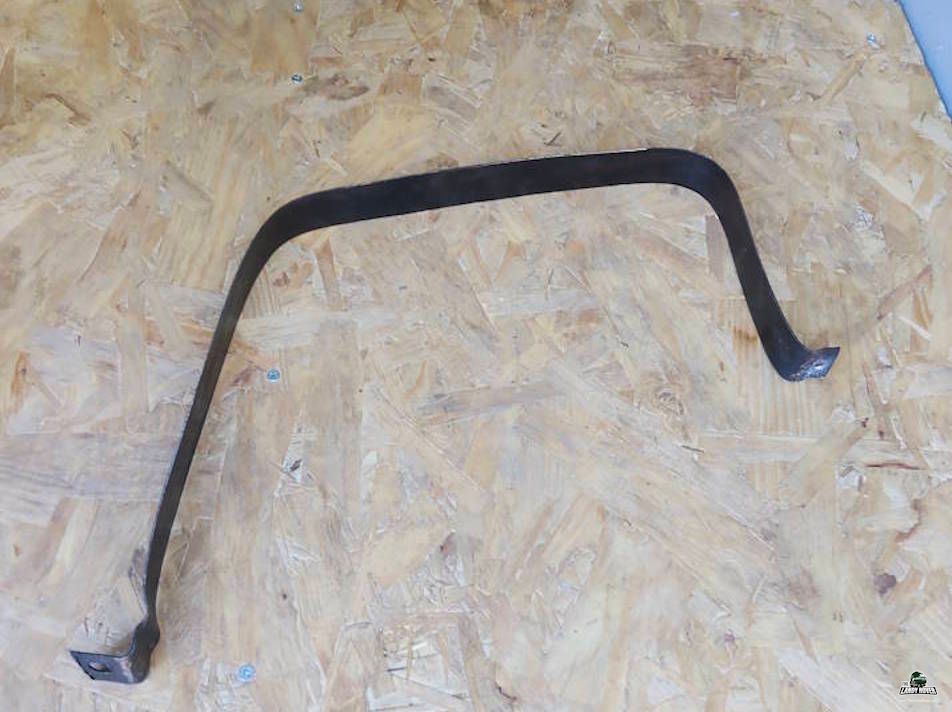
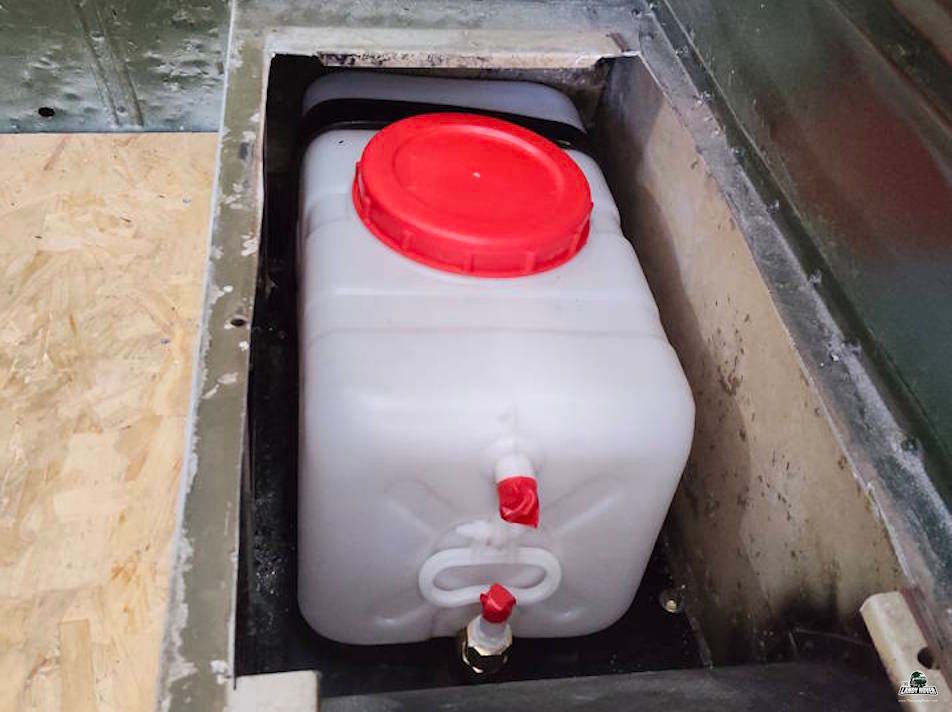
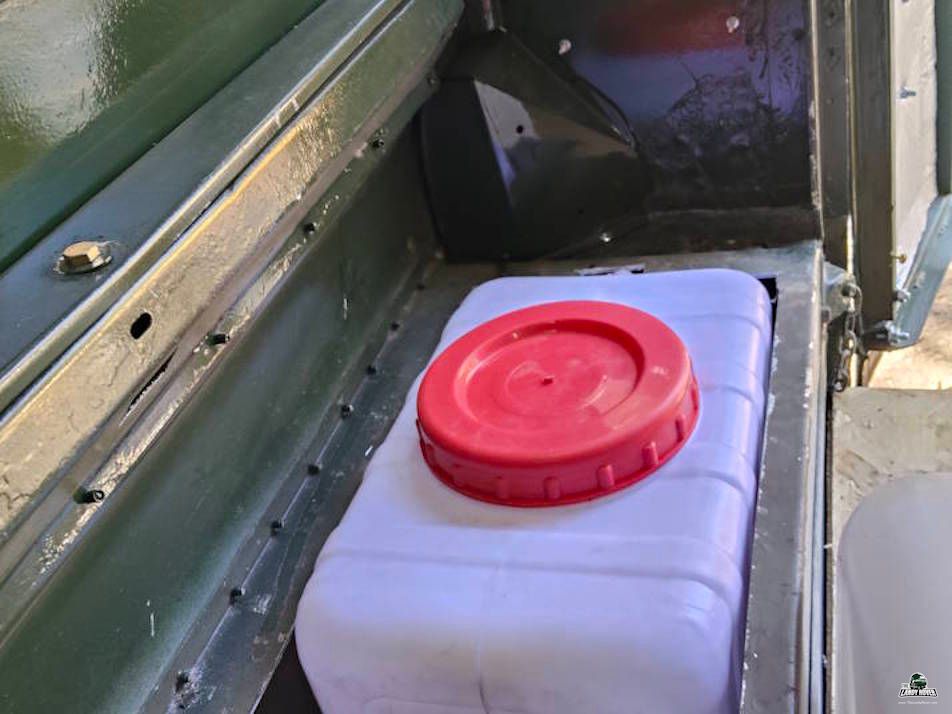
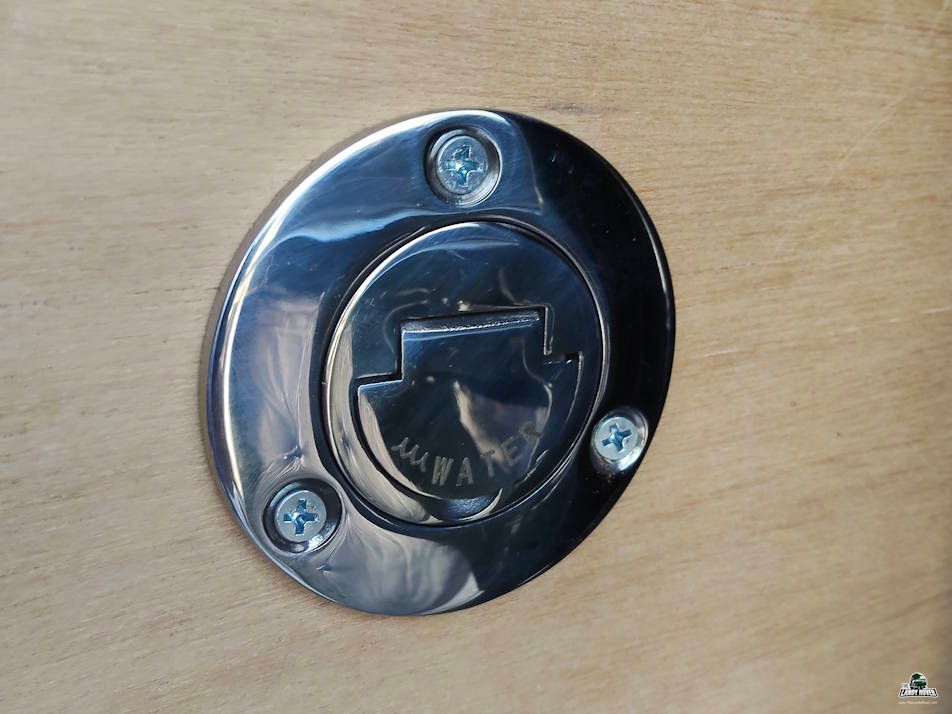
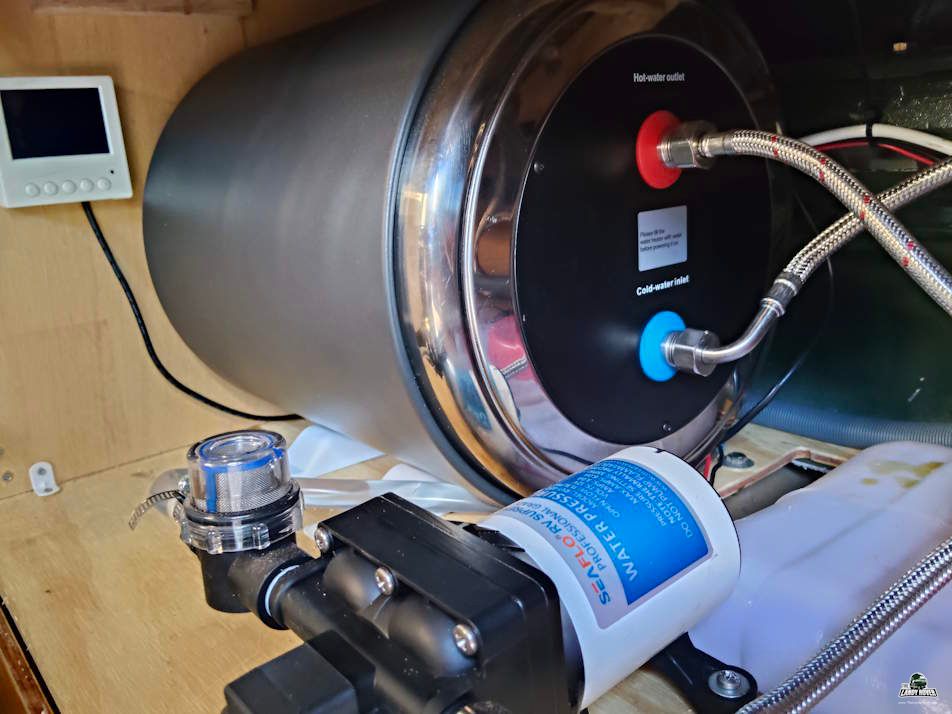
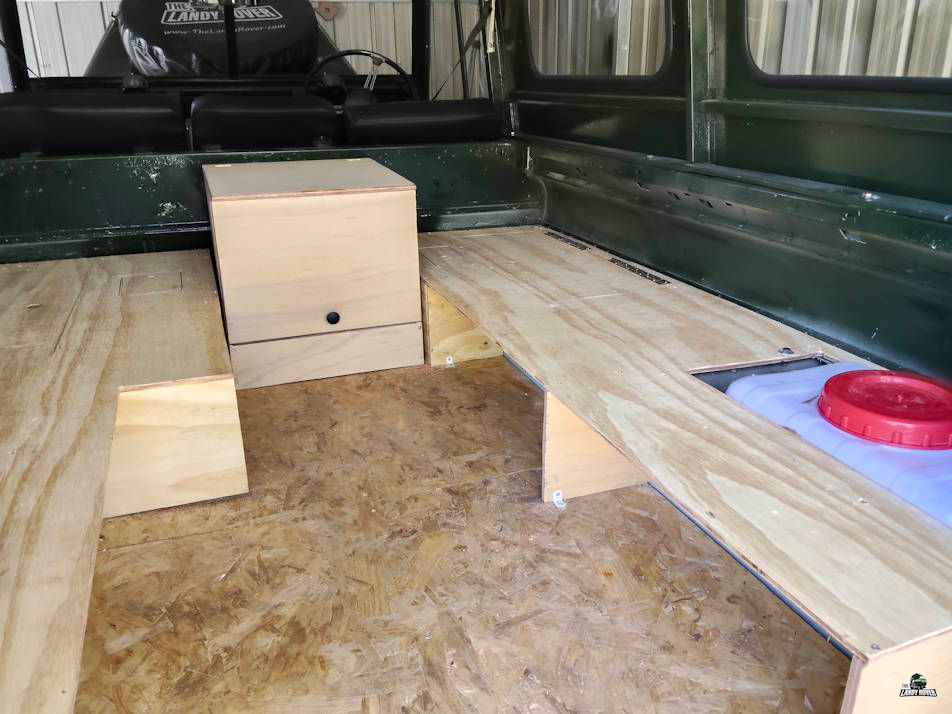
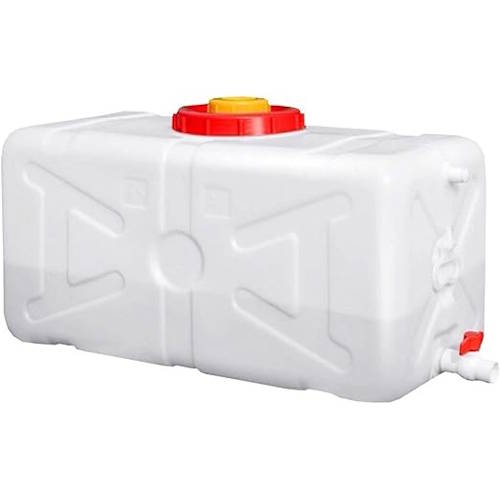
No campervan would be complete without a fresh water tank and a grey water tank, so I installed two relatively small, but usable, water tanks into the side storage compartments on the driver's side of the vehicle. The first challenge was that I needed to make one compartment, because it had been removed in the past. Plumbing will be left for after the cabinet build.
More Info
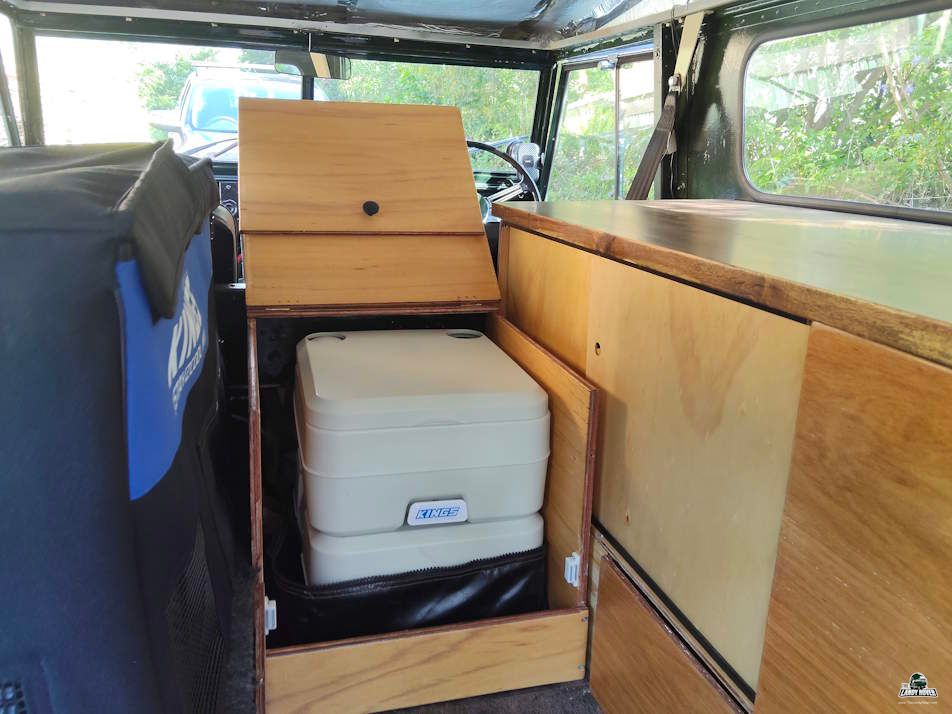
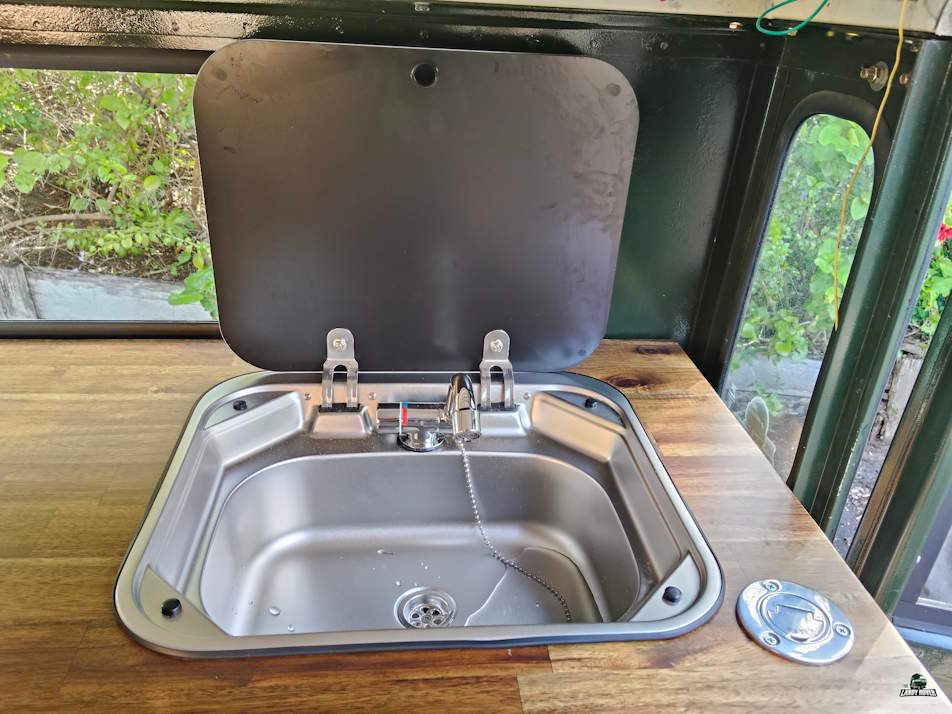
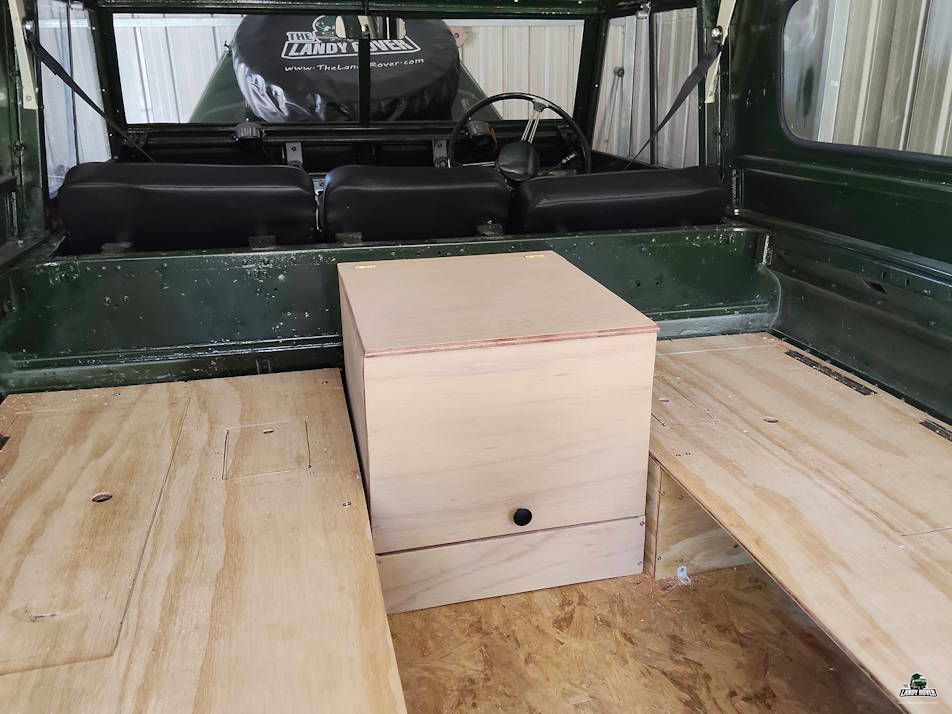
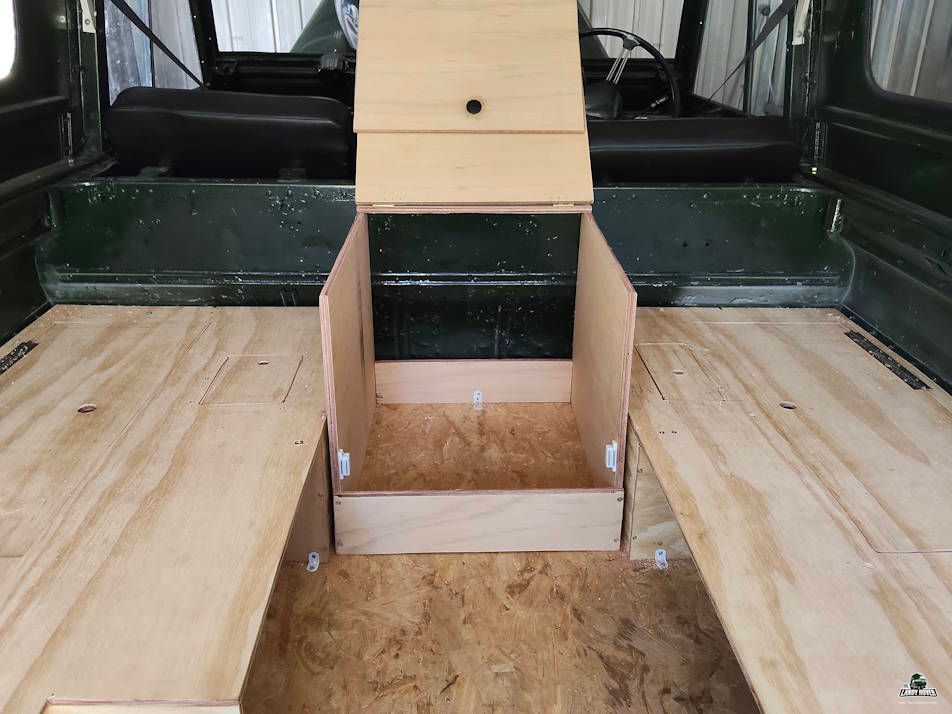
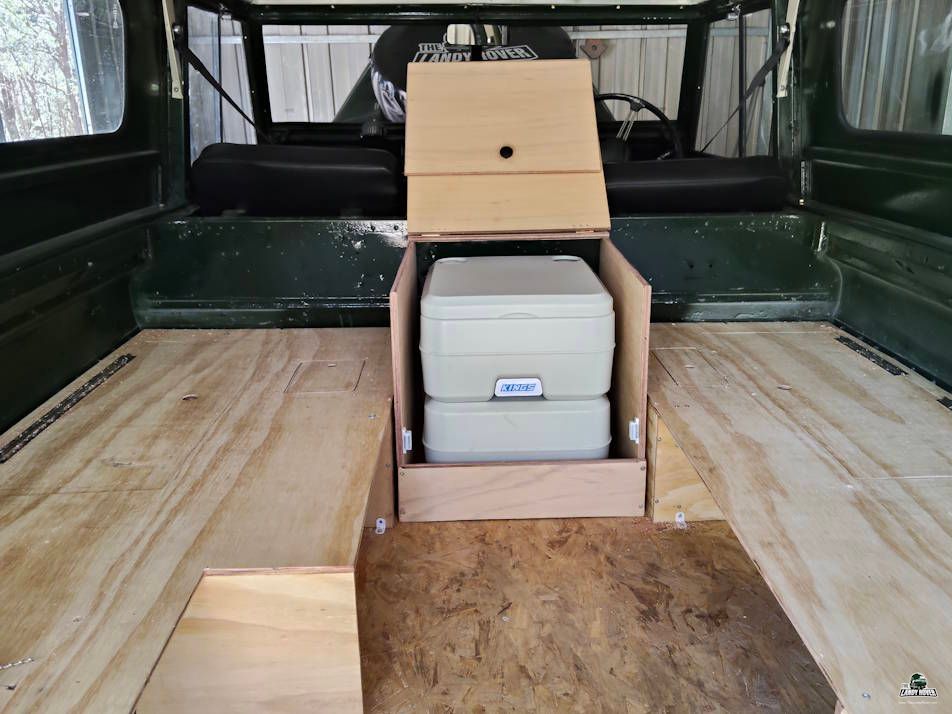
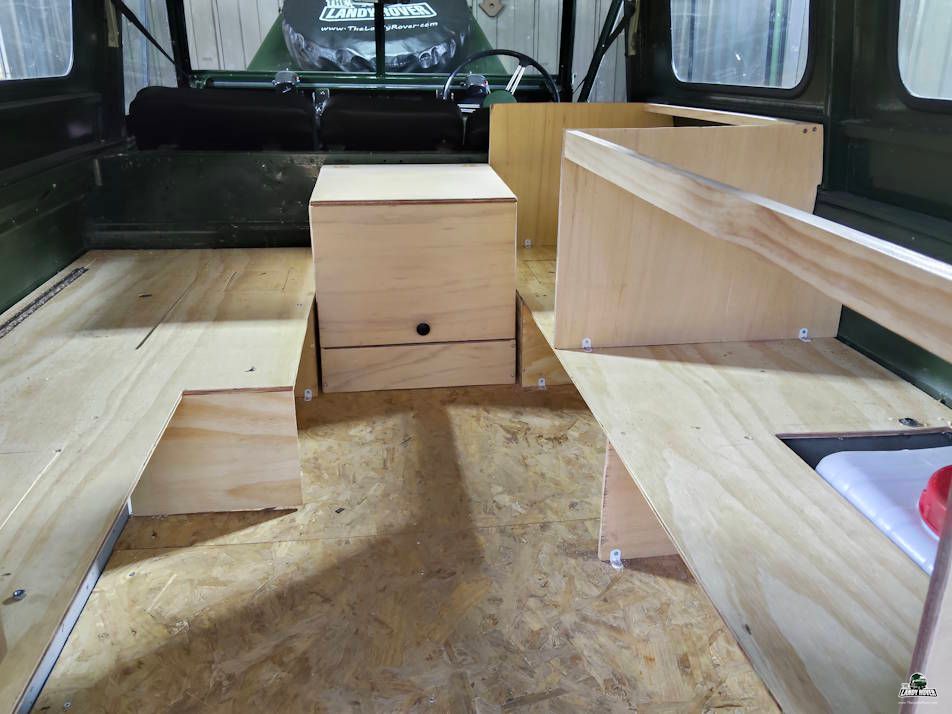
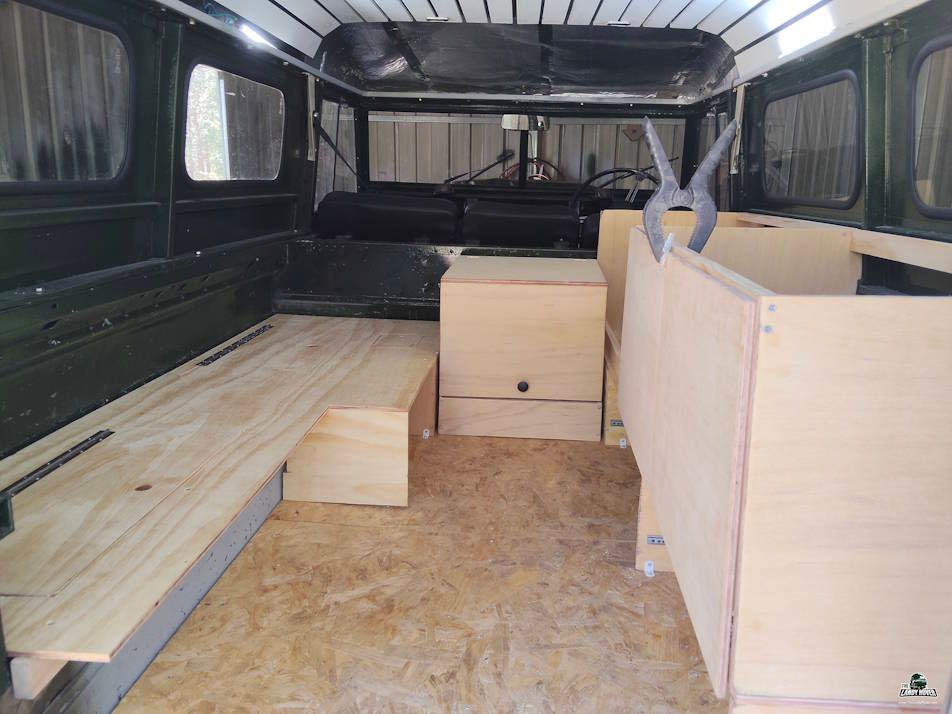
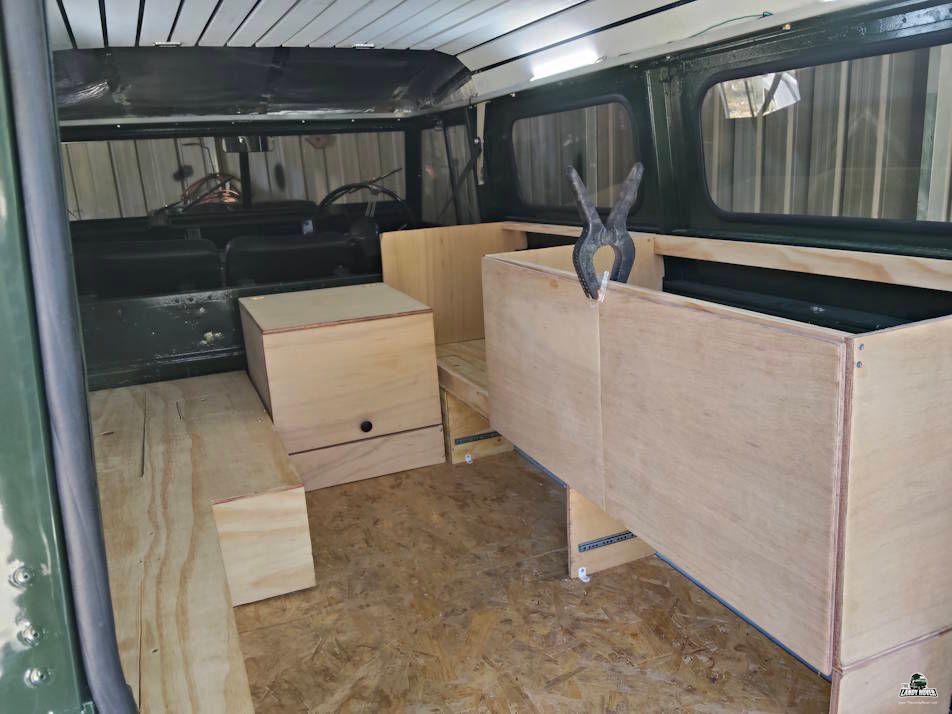
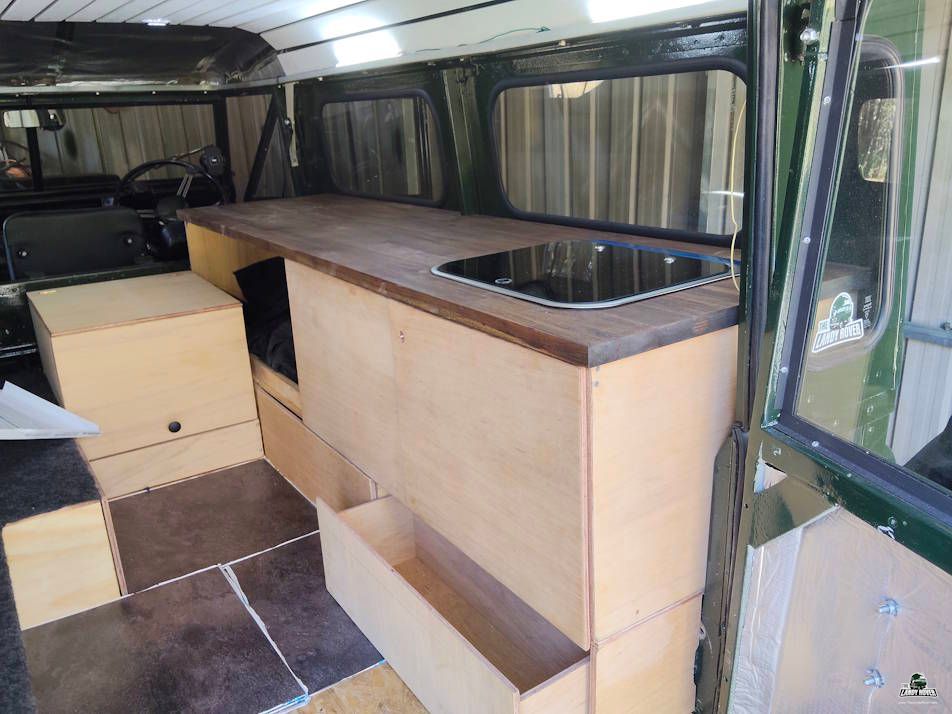
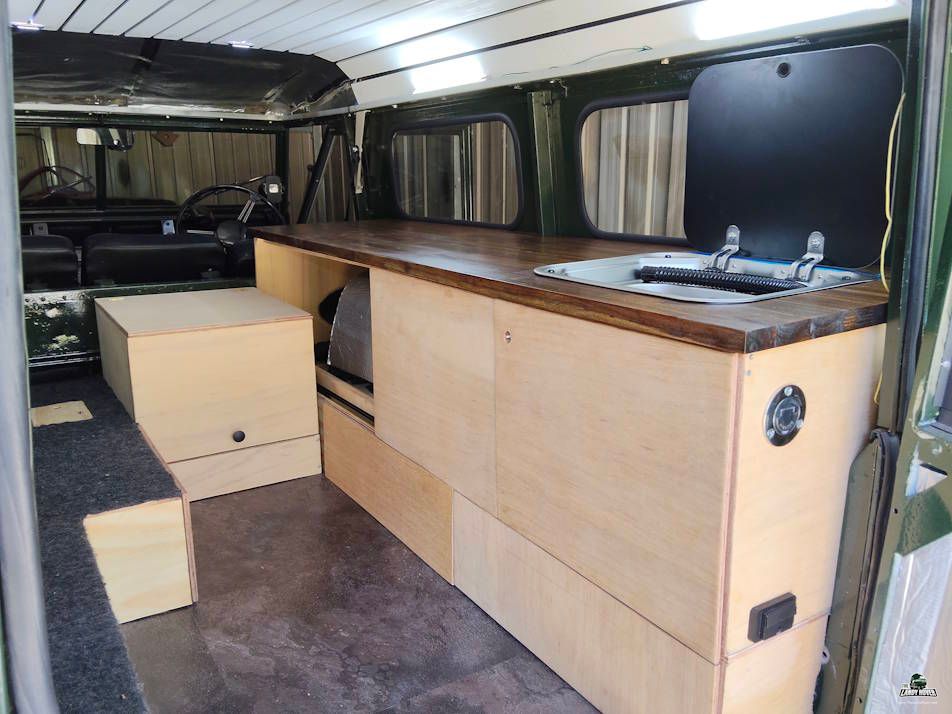
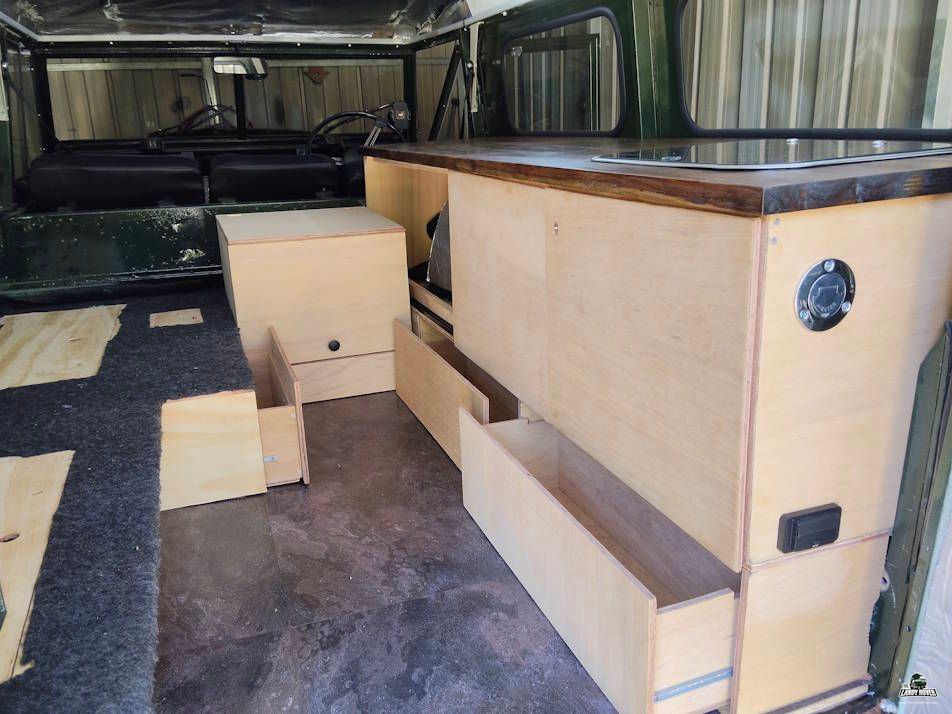
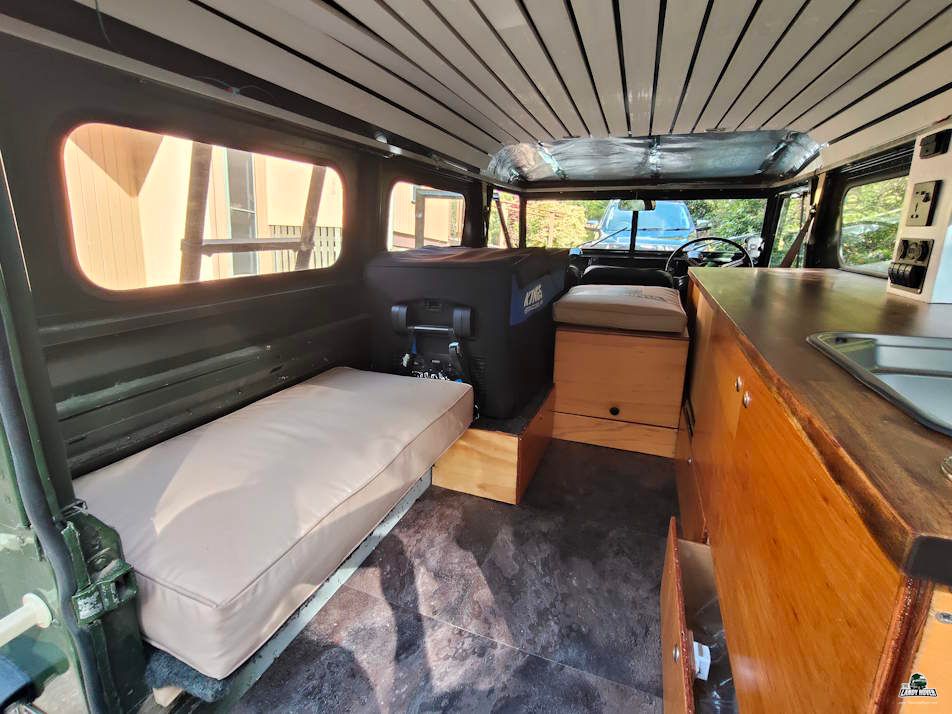
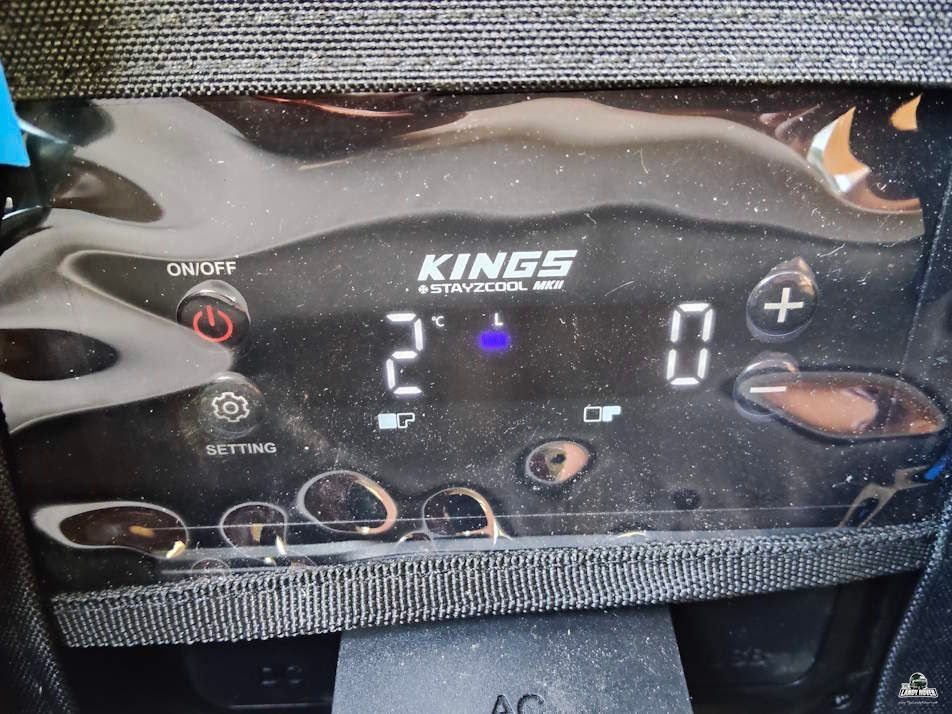
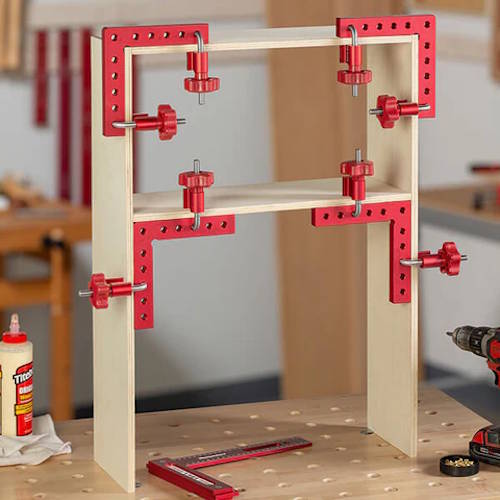
The cabinet build wasn't really planned, however it evolved as I went along. Apart from a requirement of having a small kitchen, a camping toilet in some form of cupboard and the largest refrigerator I could fit was needed. The rest was roughly planned, and multiple YouTube videos on woodworking and cabinet making were watched to try and work out how to make this come to life.
More Info
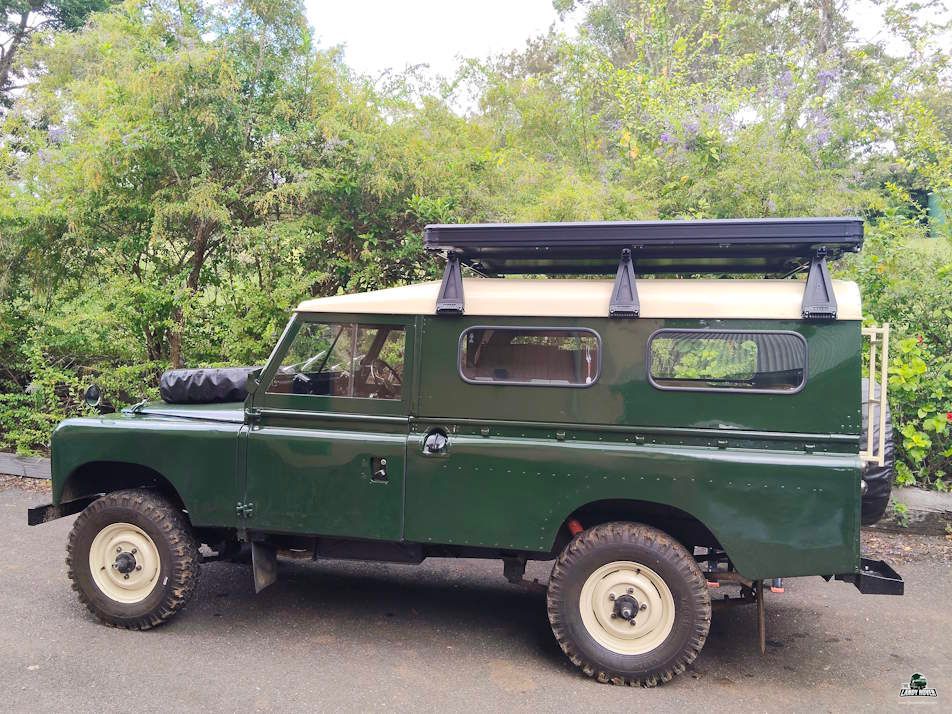
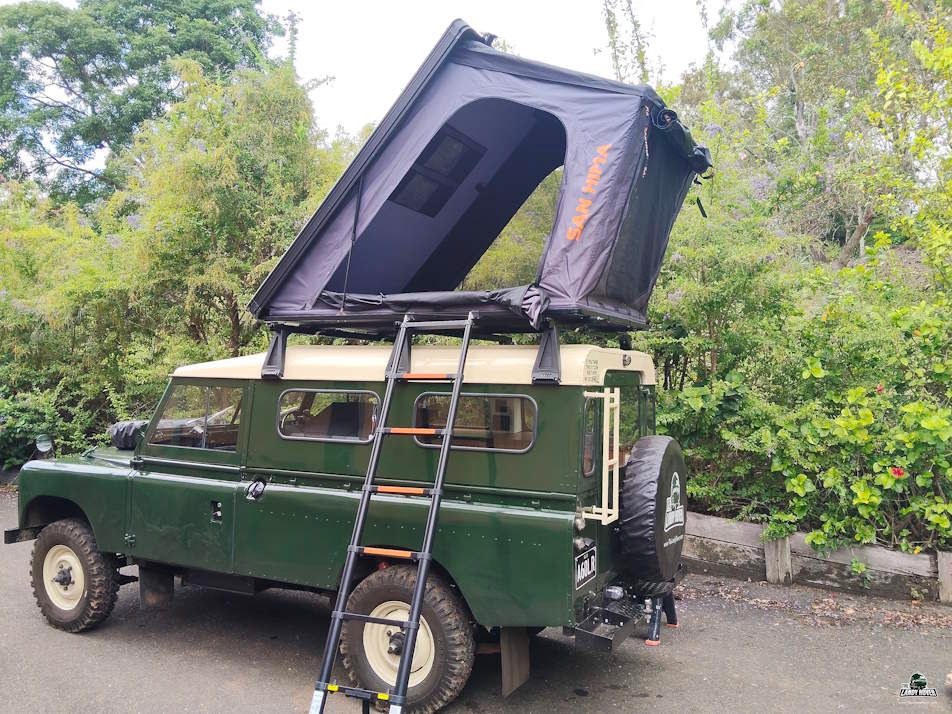
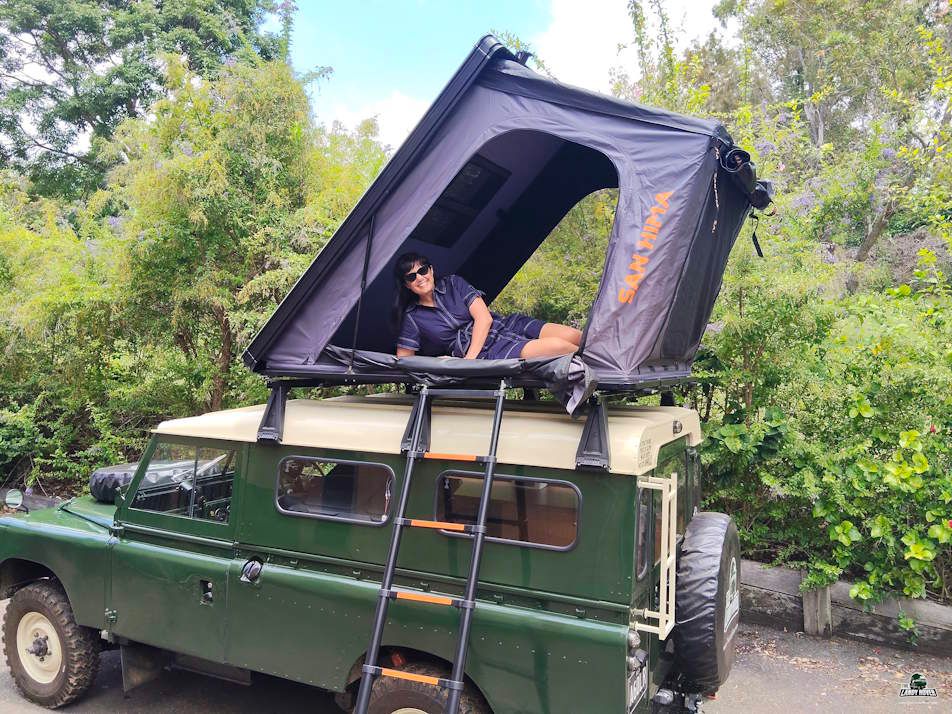
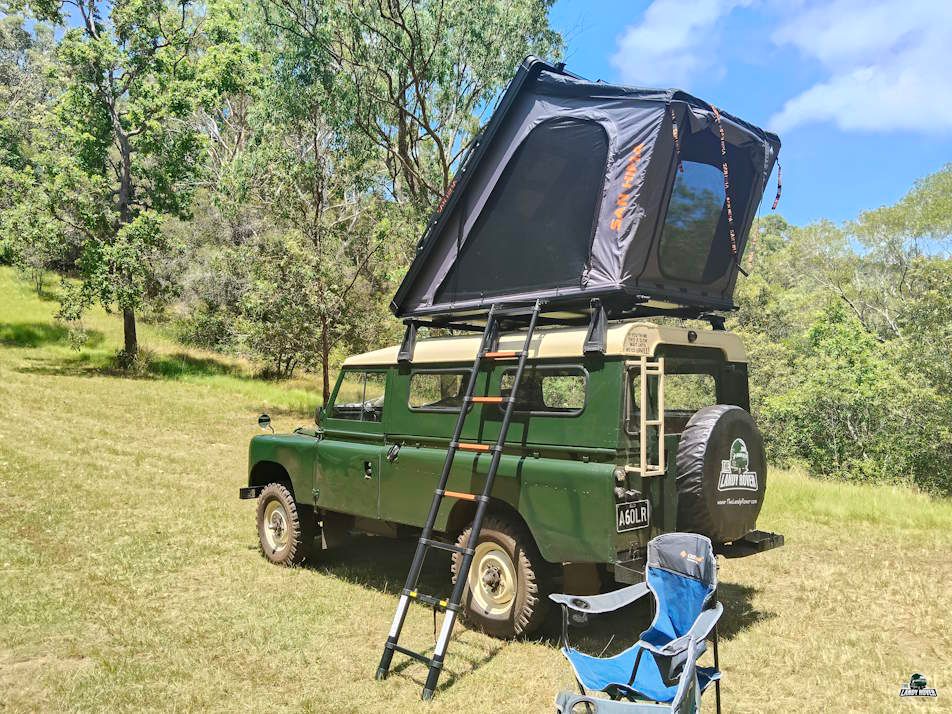
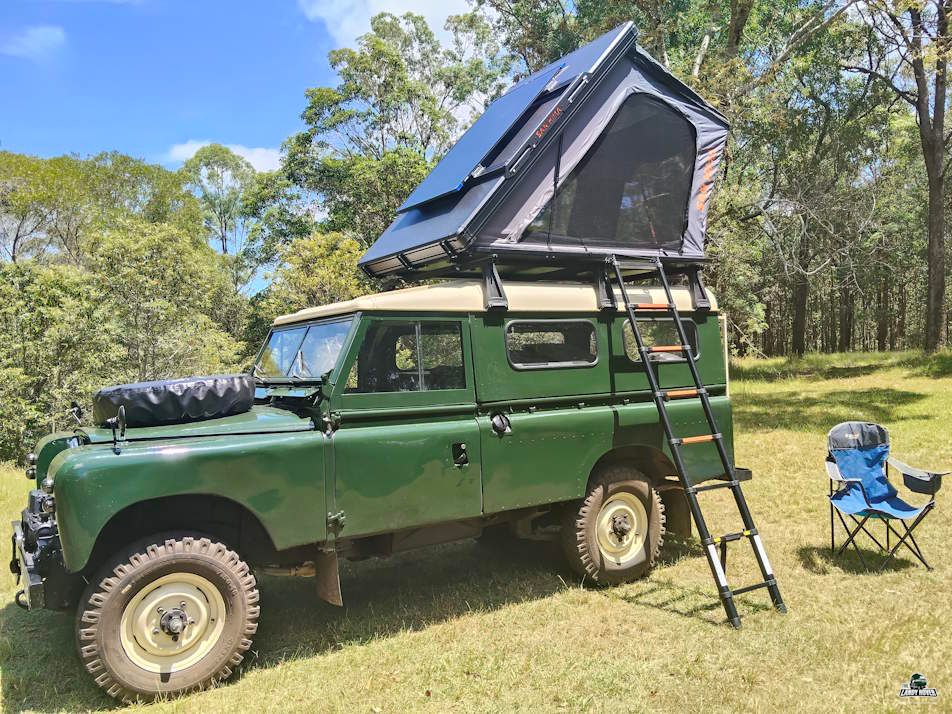
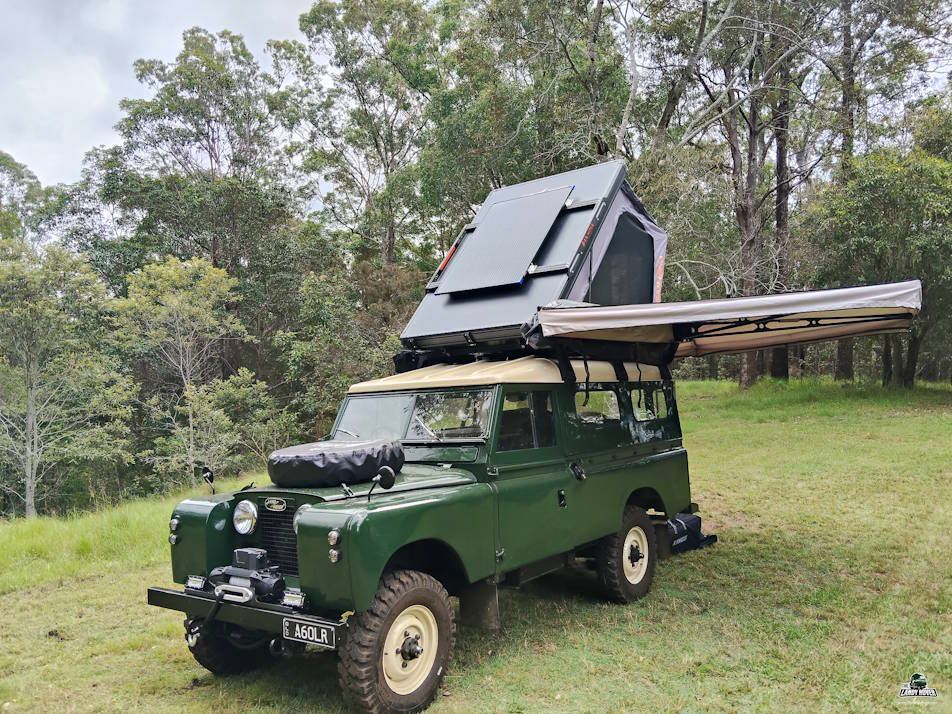
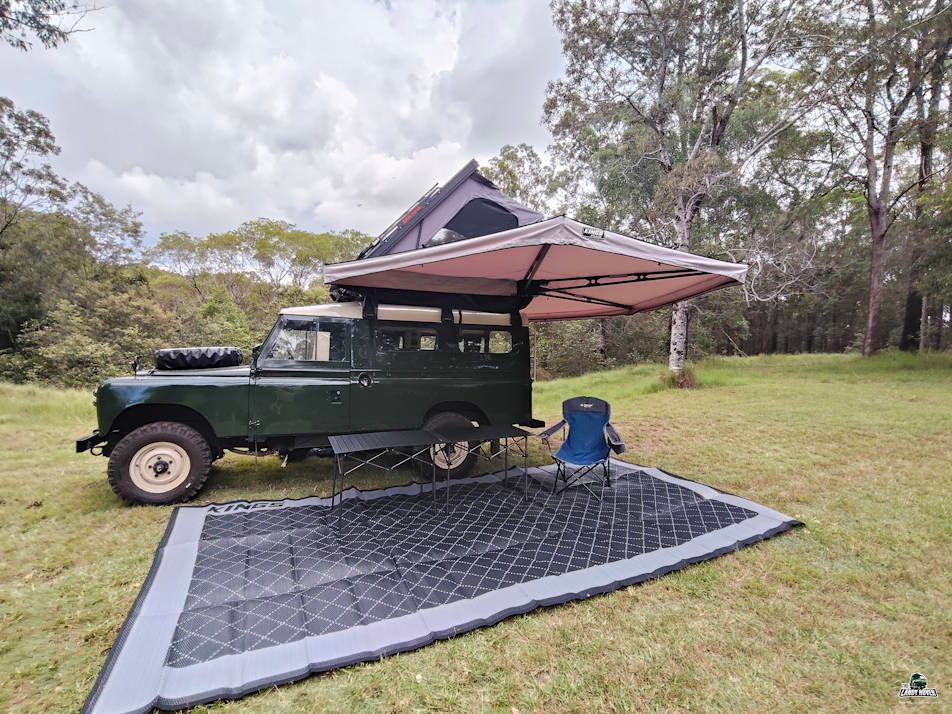
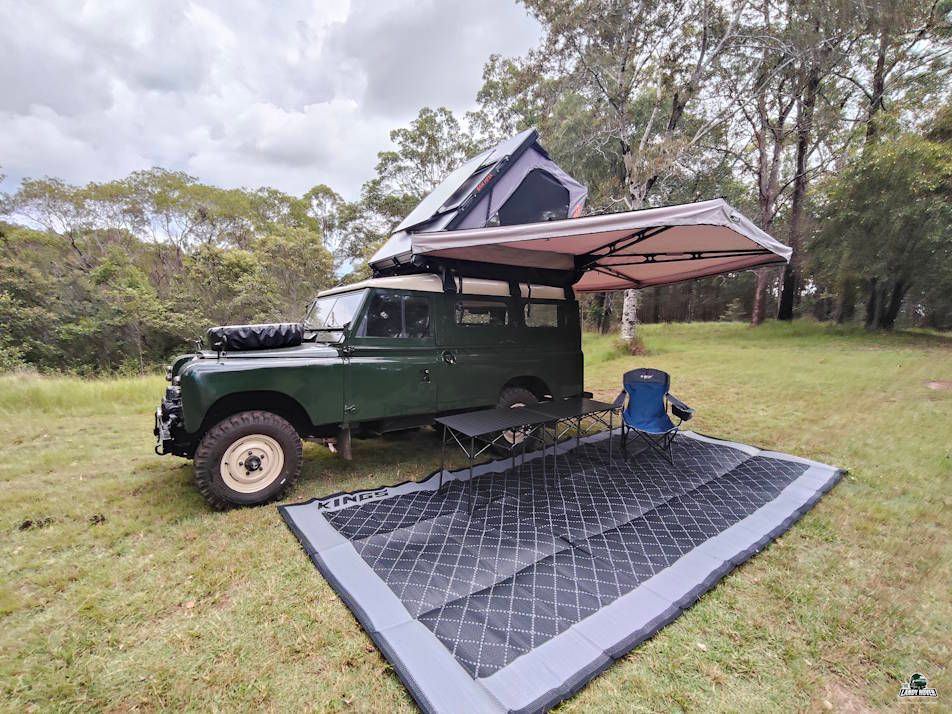
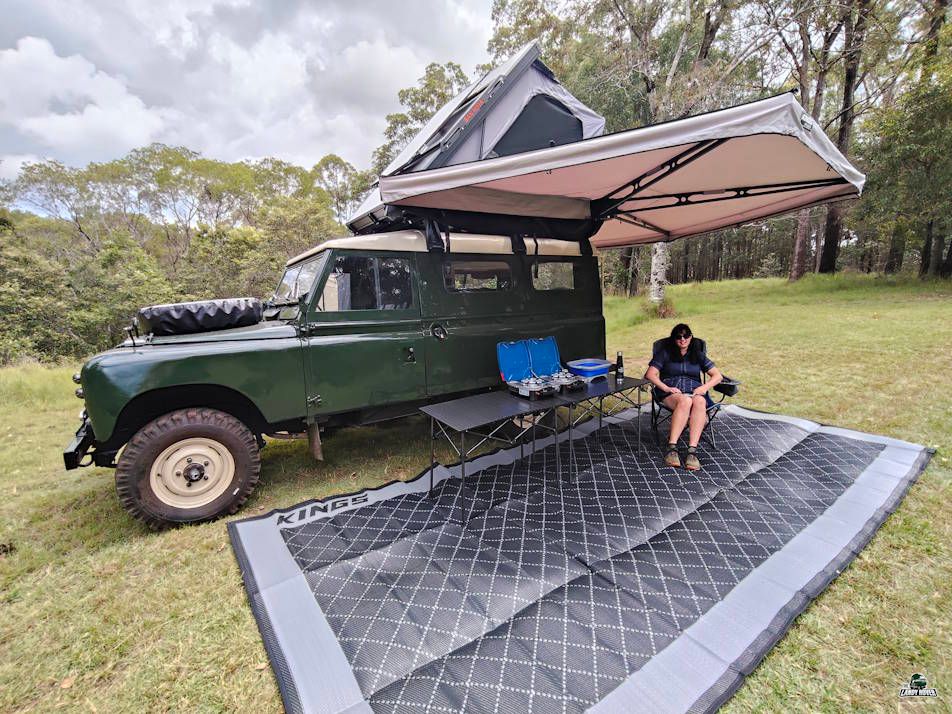
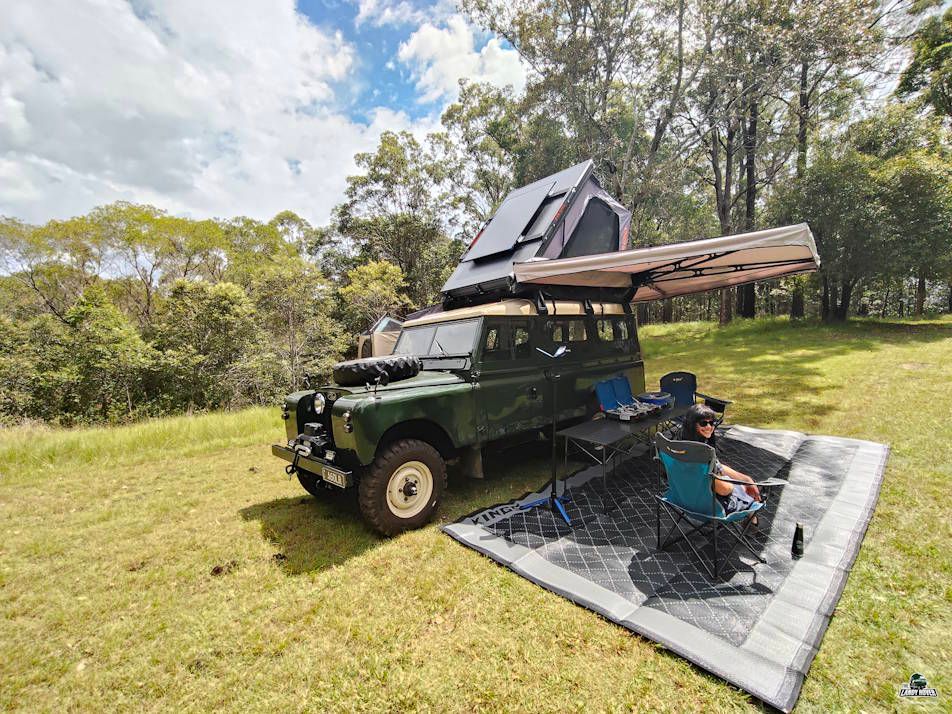
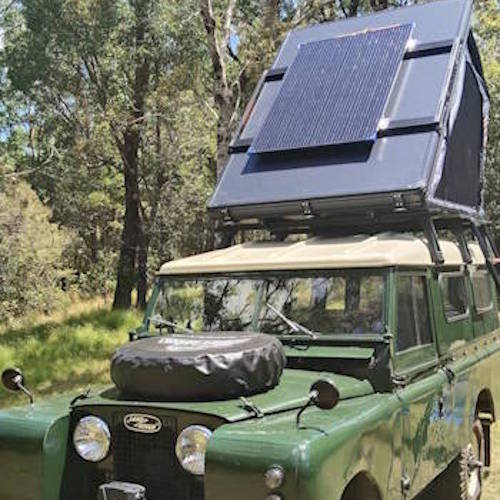
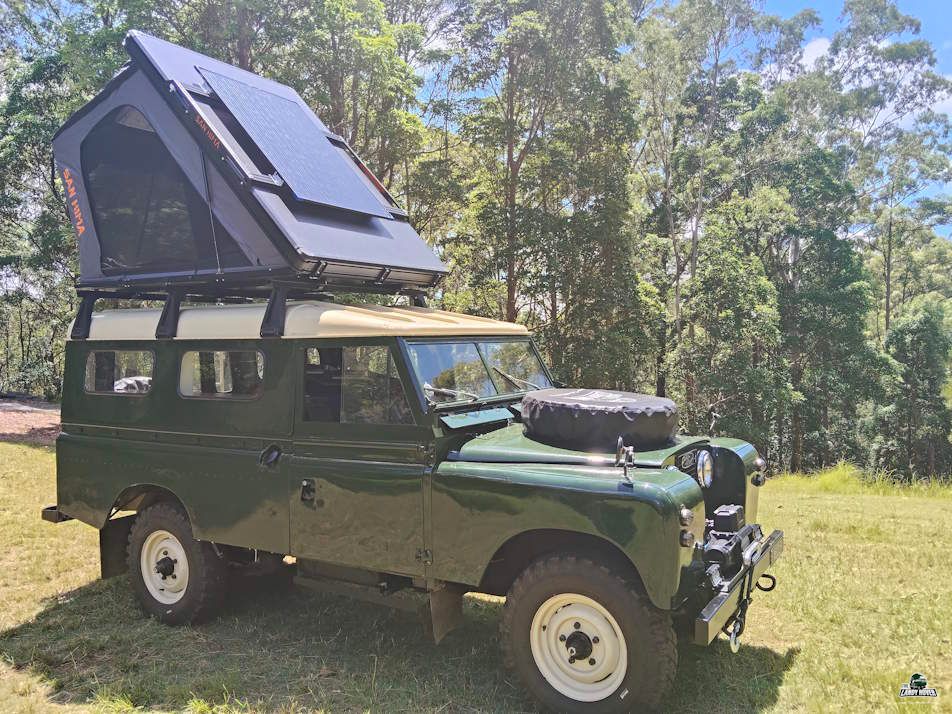
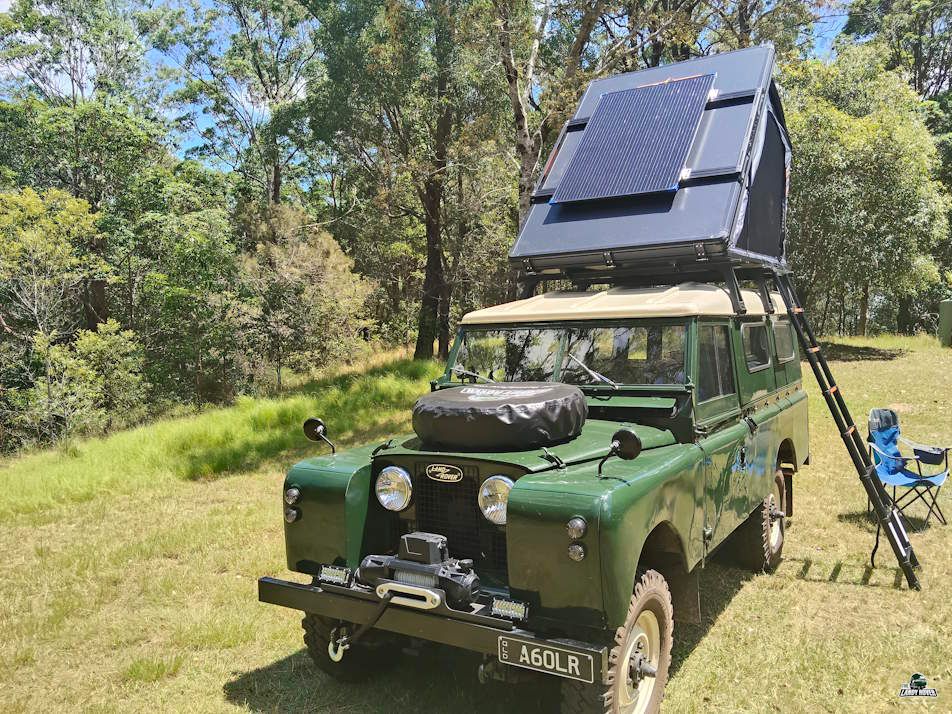
Time to turn the Landy Rover into a two-story house, complete with patio and an ensuite bathroom! (In other words, installing a roof top tent with a 200W solar panel on the top, and installing a 270° awning and shower tent onto the the side, without making her too top-heavy and hard to drive).
More InfoRestoration Statistics
Here are some statistics (and tips to avoid) of the many injuries and health and safety issues encountered whilst carrying out the restoration of the Landy Rover.
Do not weld with a MIG welder wearing thongs (flip-flops). The welding splatter hurts!
Angle grinders and fingers must never meet, although the cuts do not bleed!
Welding causes sunburn!
Camper Project Guide
Don't just browse the pictures! Click any guide below to see the part lists, wiring paths, tool choices, and lessons learned for each component of the Series 2 build.