Series Land Rover Brakes
Top Tips - Bleeding Series Land Rover Brakes
There are multiple ways to bleed car brakes, and to be honest, getting them to function properly has been the most frustrating part of the entire restoration of the Landy Rover. The LWB version (which I have) appears to be very problematic due to the way the bleed screw on the front wheels is on the lower of the two wheel cylinders and it is hard to get air bubbles from the top cylinder to go downwards in fluid.
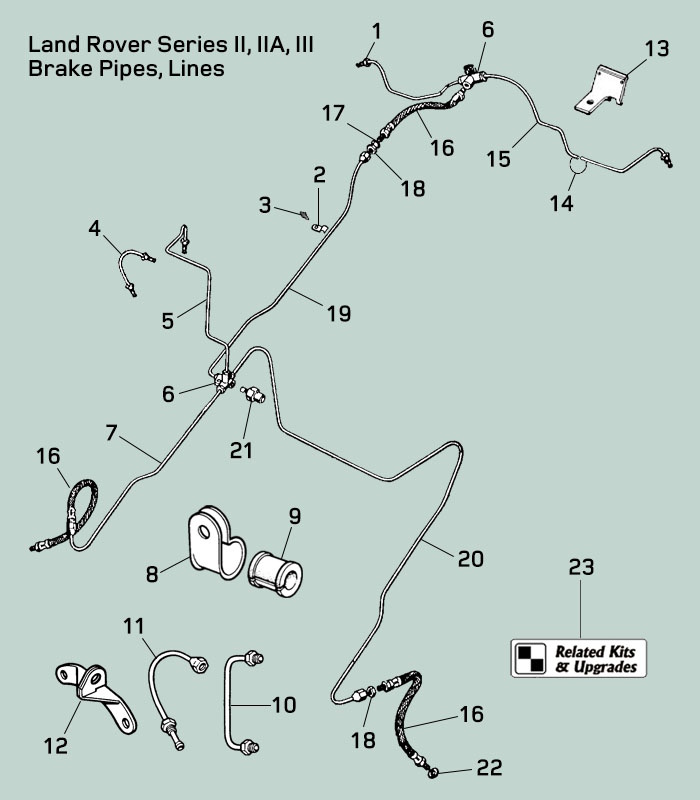
The brake pipes also tend to have ups and downs and some vehicles I have read about on forums have a complete 360-degree loop in the middle of them, which is a great feature to help air get trapped.
After replacing the master cylinder, the wheel cylinders, the brake light pressure switch and half of the brake lines, which required removing the flexible brake hoses, the entire braking system of the Landy Rover was pretty much all air, with a small amount of fluid. Traditional gravity bleeding didn't work very well. To try and make life easier (and believing the adverts) I purchased a pressure brake bleeder which didn't quite fit the master cylinder reservoir without brake fluid spraying everywhere and all over the engine bay and paintwork. I then purchased a vacuum bleeder, which only sucked air from around the bleed screw and minimal fluid came through the system, but it did put a load of air back into the brake pipes, which wasn't welcome. After a few hours of fighting, I had brake fluid all over the floor, all over me (brake fluid isn't great on your skin) and over the paintwork (brake fluid is even worse on paintwork).
After trial and error, plus lots and lots of very (very) bad language, I eventually managed to get brake pressure restored. Here are some top tips I found online and after speaking to a local mechanic, which helped bleed the system and get the brakes working again:
VERY IMPORTANT! Pushrod Freeplay Warning
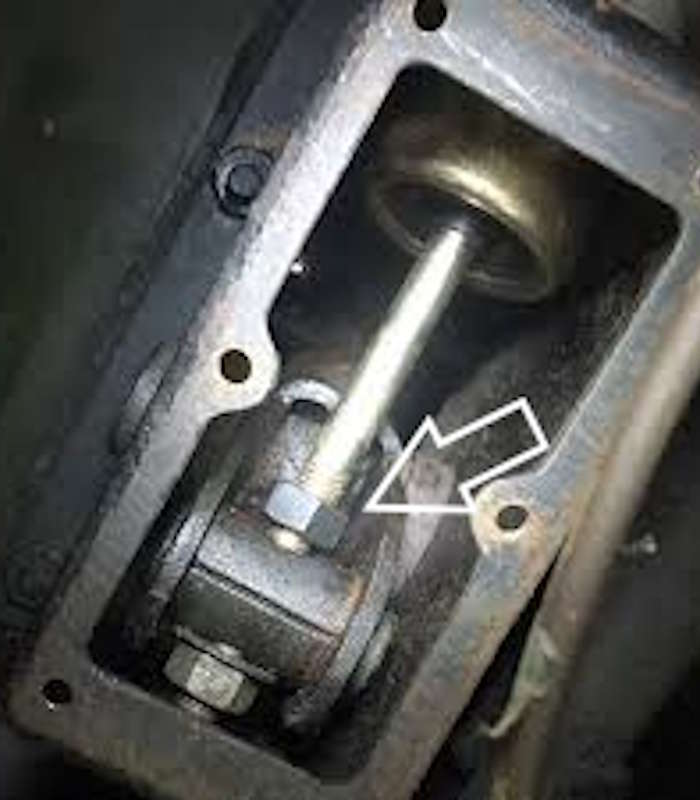
Do not over-tighten the two bolts on the master cylinder pushrod (image below), which are used to set the free play in the pedal / push rod. If you tighten them too much and there isn't lots of freeplay (like I did), the internal valve will stop fluid from flowing from the master cylinder and back into the reservoir, and you won't be able to bleed too easily or reverse bleed at all. (I took the entire braking system apart to see what the cause was, and this was the last thing I checked, and I wasted days.) Bleed with a lot of pushrod freeplay and then tighten up.
Once I did get brake pressure, I then found that as the brakes got hot, not having enough free play in the push rod would stop the expanding brake fluid from being able to flow back into the reservoir and the brakes would then bind and I would essentially have one foot on the accelerator and one on the brake. The hotter the brakes got, the more the fluid expanded and the more the brakes would bind.
1. Mechanical Adjustments
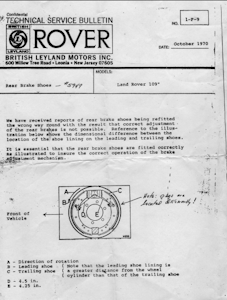
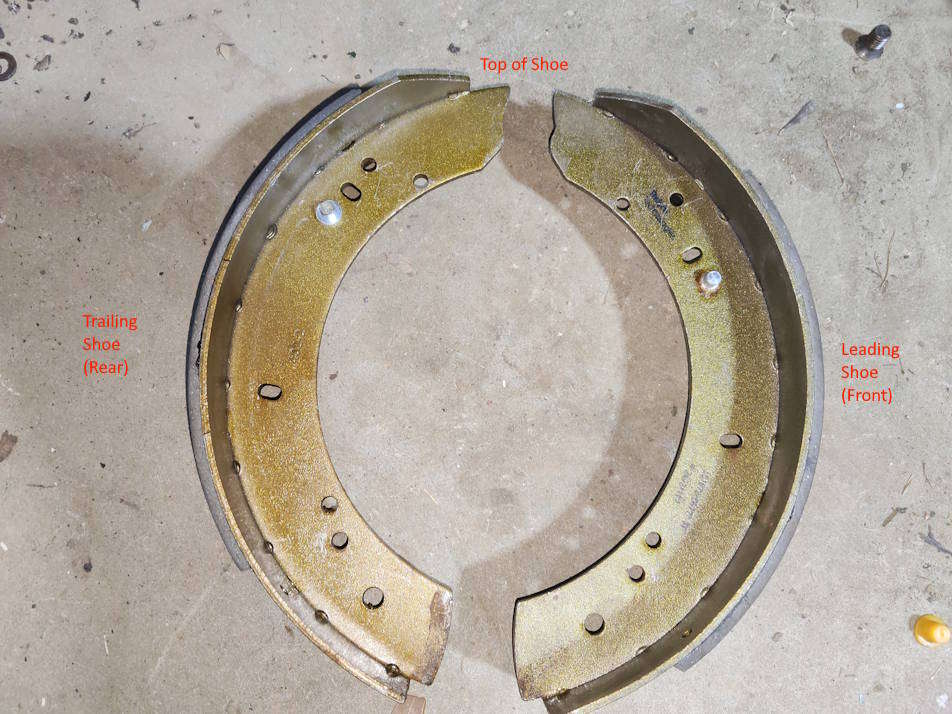
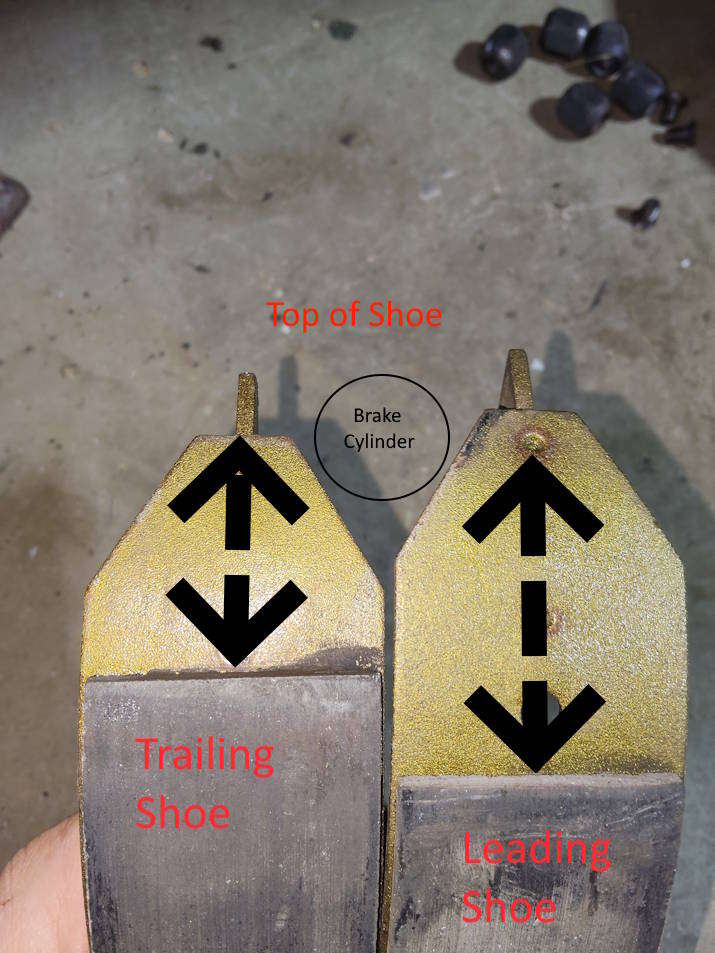
- Ensure brake shoes are properly installed and that the correct shoes are in the correct order. Also known as trailing and leading shoes (see below).
- Ensure the 'Snail Cams' are functioning and turning them 'clicks' the brake shoes closer to the brake drums. Old, worn Snail Cams may just endlessly turn without doing anything. Before bleeding the brakes, wind them back in so the wheel cylinder is fully compressed and the shoes are not touching the brake drum.
- If you are replacing the master cylinder, fill it with fluid first, pump the push rod a couple of times and tilt it before installing, and you will see bubbles. Once air is removed, block off the two holes with plugs to stop fluid coming out and air getting in while you install it. (AKA, Bench Bleeding)
- Ensure that your reservoir is filling the master cylinder once you have expelled some fluid, and wait a couple of minutes for it to fill up. Ensure that the pedal free play nuts haven't moved and blocked off the cylinder from refilling after expelling fluid from the bleed valve.
- For me, vacuum bleeders were next to useless and just put air into the system after sucking air around the thread of the bleed screw. Pressure bleeders didn't get a good seal on my reservoir and sprayed brake fluid all over the engine bay and front wing paintwork.
2. Fluid Isolation & Methods
- You can start off by 'reverse bleeding' each wheel cylinder, so you get fluid in the system and the air comes out of the top and the reservoir, which will also test your master cylinder push rod free play nuts being too tight. (Video below)
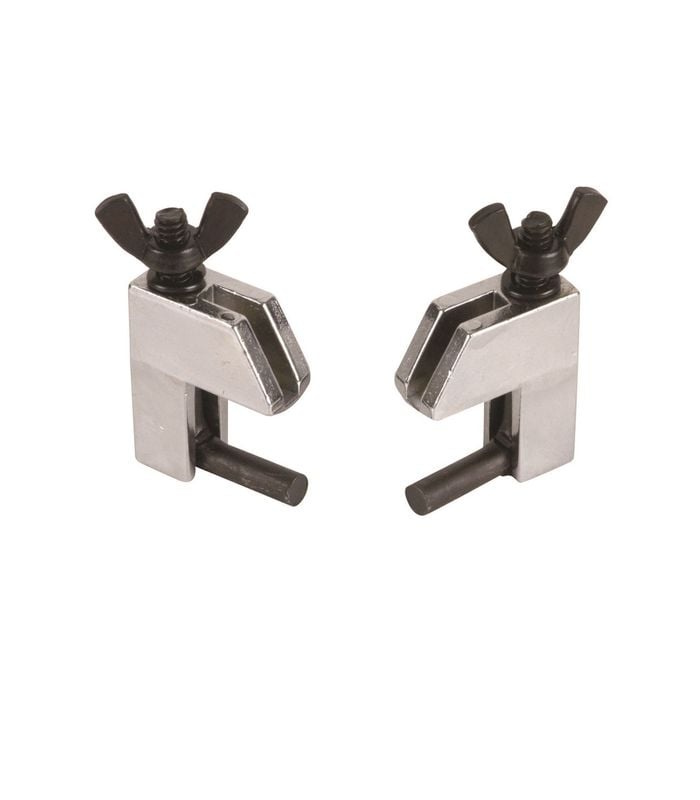
- Using delicate hose clamps (image below), clamp off the three flexible Brake hoses. At this point, you should have solid brake pressure at the pedal. (If not, your master brake cylinder is full of air, or broken).
- Remove the front clamp closest to the master cylinder and bleed that wheel several times. (Some books say furthest away from the master cylinder, and some say the closest wheel. At least you will now get fluid to come out! Once it is clear of air, put that clamp back on and repeat with the other front wheel. Once that is complete, bleed the rear wheels.
- Remember to keep topping up the fluid into the master reservoir, or air will enter the system and you will have to start again. To solve this problem, I needed to remove the master cylinder (for the 4th time) and bench bleed it again.
- Before a clamp is placed back on a hose after bleeding, ensure you have decent pedal pressure before moving on to the next wheel. Ensure that the wheels that have been bled now have a clamp on them before moving to the next wheel.
- When the system is under pressure (the pedal is held down), only open the bleed valve a fraction of a turn (less than 1 quarter of a turn). Any more and it will suck air through the thread of the bleed valve screw, and you will get air in the cylinder again. This drove me mad.
- Reverse bleeding does a good job at removing 90% of the air from the system. However, it is also great at spraying/leaking brake fluid all over the floor and paintwork if you are unlucky when the pressure pushes the pipe off of the syringe. I reckon I wasted over 2 litres with this method. It does work as a good start, though, followed by a more traditional bleeding method of someone pumping the brake pedal.